October 1, 2017

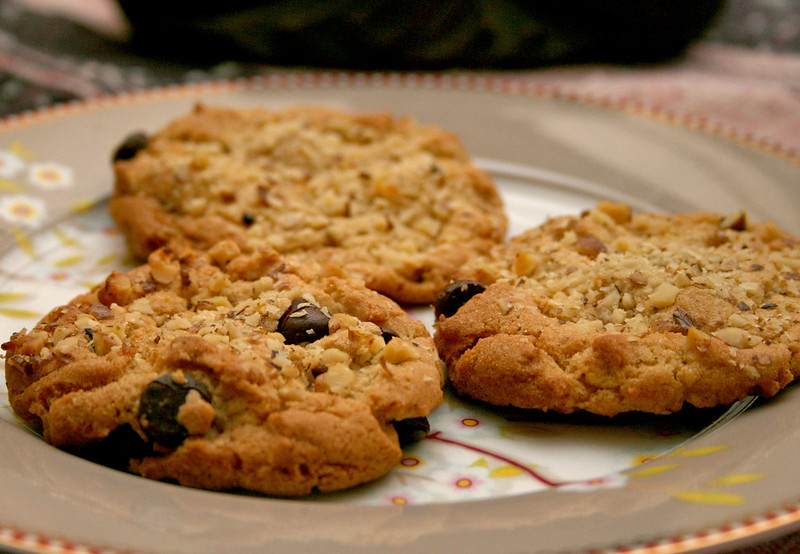
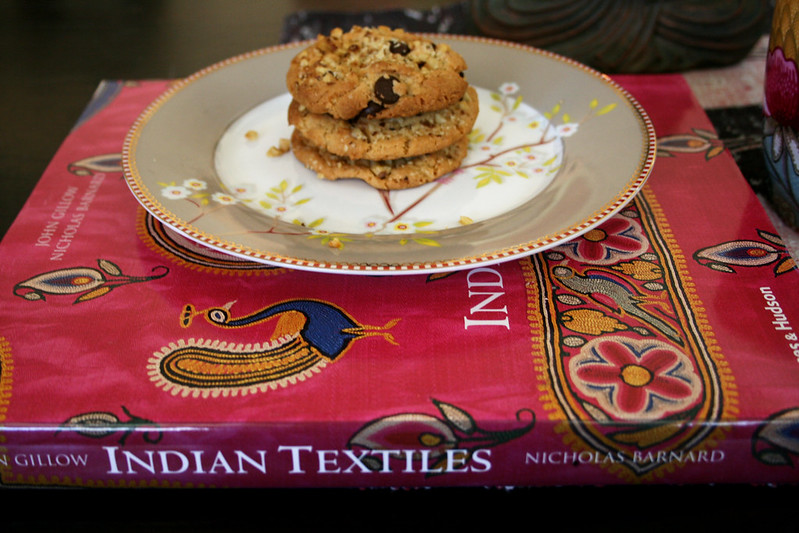
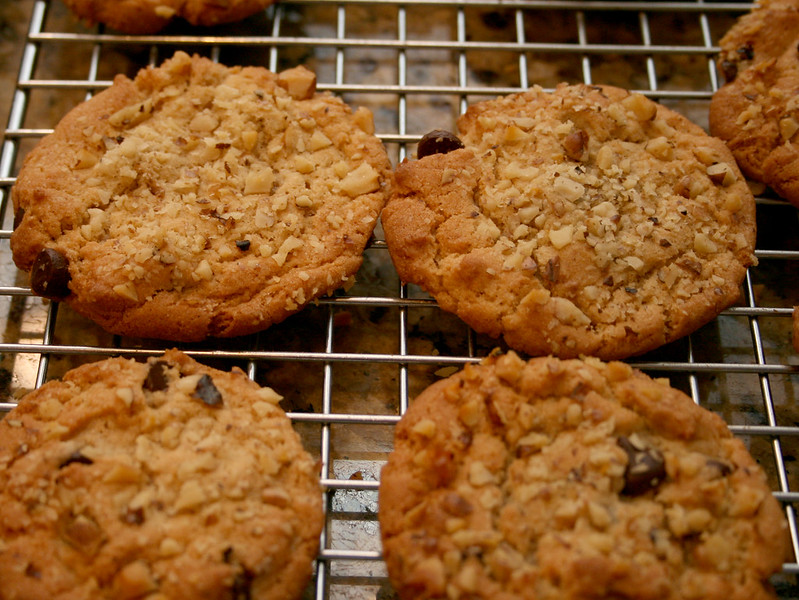
Dairy Free Olive Oil Chocolate Chip Cookies

IMG_4555a

IMG_4588a

I have been on a long 2 year journey after being poisoned by listeria and relearning how to eat.  I no longer am able to tolerate dairy - dairy as defined by anything made from cow's milk.  Now I am vigilant about the products I consume and I am searching for a baking substitute for butter that does not use bunch of chemicals.  Butter has that smooth, sweet, slight nutty flavor that is ever so subtle but once butter is not available for use, a person notices.  I have tried several varieties of vegan buttery sticks, preferring the Melts brand despite the coconut aftertaste.  It is better to eat a cookie with a tinge of coconut versus the tinge of fish that comes off the Earth Balance buttery sticks.  Once dairy is off the table, flavor must compromise.  I have read many a blog eschewing the wonders of coconut oil whose fat content is close to that of butter but it doesn't sit like butter on the palate or the stomach - it is strangely heavy.   

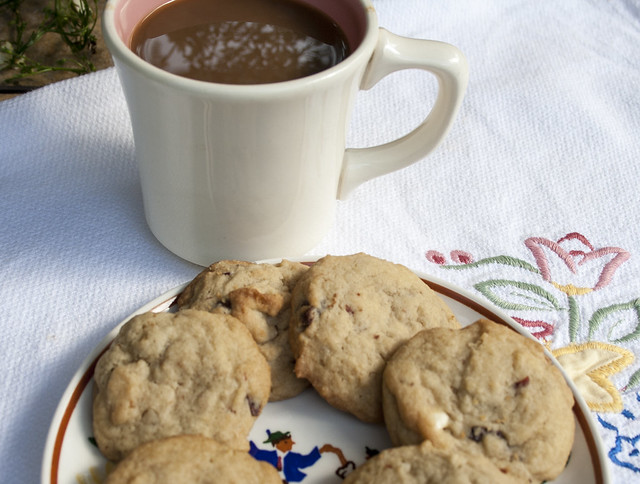
This chocolate chip cookie has the same texture and crumb as a butter based chocolate chip cookie.  The flavor of your olive oil comes through in a subtle and surprising way that is nice.

Dairy Free Olive Oil Chocolate Chip Cookies

1 ½  cups light brown sugar sugar
½ cup granulated sugar
3 cups all purpose flour
2 teaspoons baking powder
1 teaspoon baking soda
¾ teaspoon sea salt
1 stick (4 ounces) buttery sticks* softened
*Note:  I prefer the Melts brand buttery sticks or when I can’t find the Melts I use the Earth Balance brand Soy-free buttery sticks – their other buttery sticks give baked goods a noticeable fishy flavor from the flax oil used in them.
½ cup flavorful olive oil
2 large eggs
4 teaspoons vanilla extract
6 - 12 ounces dark chocolate chips
1/2 cup finely chopped walnuts to dip the top of cookies in (I use this method to make some cookies with nuts and some without) or add the nuts with chocolate chips. 

Preheat your oven to 375 degrees F.
In a medium bowl whisk together all-purpose flour, baking powder, baking soda and salt, set aside.
In an electric stand mixer fitted with the paddle attachment, cream your brown sugar, granulated sugar, oil and buttery stick on medium speed.
Add the eggs one at time and mix until incorporated after each addition at medium speed.
Add vanilla and mix until well blended.
Scrape the bowl.
Slowly add the flour mixture to the wet ingredients on low speed.
Add the chocolate chips and mix until evenly distributed, about 10-20 seconds
Use a cookie scoop of your preference or two teaspoons to scoop walnut size balls on your baking sheets.
Dip tops of cookies in nuts if using.
Bake the cookies on silpat or parchment lined pans for about 7-11 minutes depending on the top of oven you use.


IMG_4550a

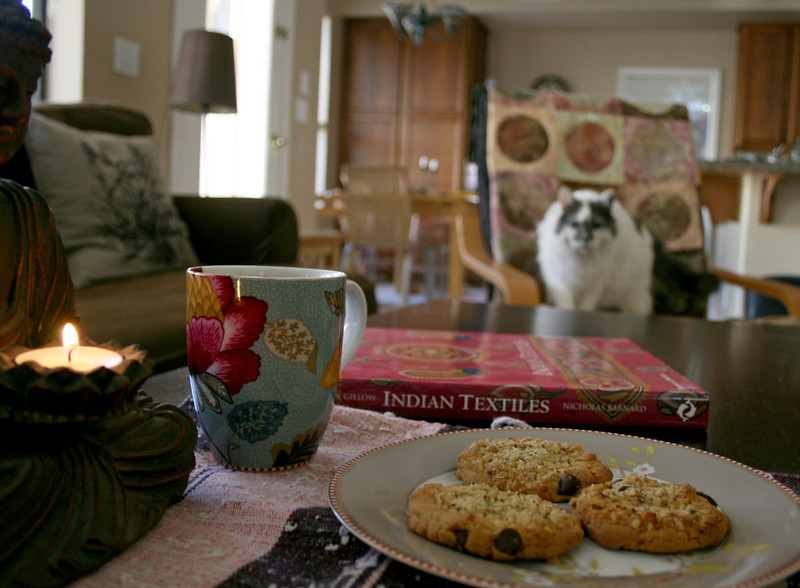
smokey coming to tea

March 7, 2017

Mango Salsa


peach mango salsa


mango salsa

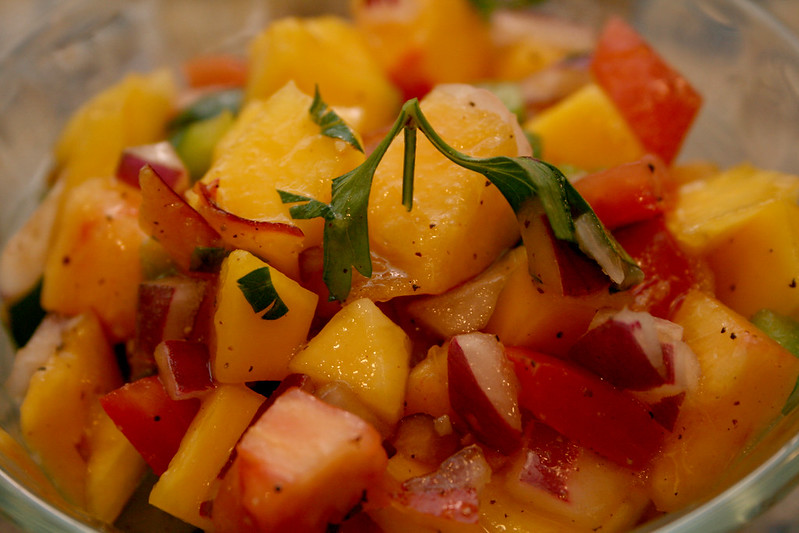
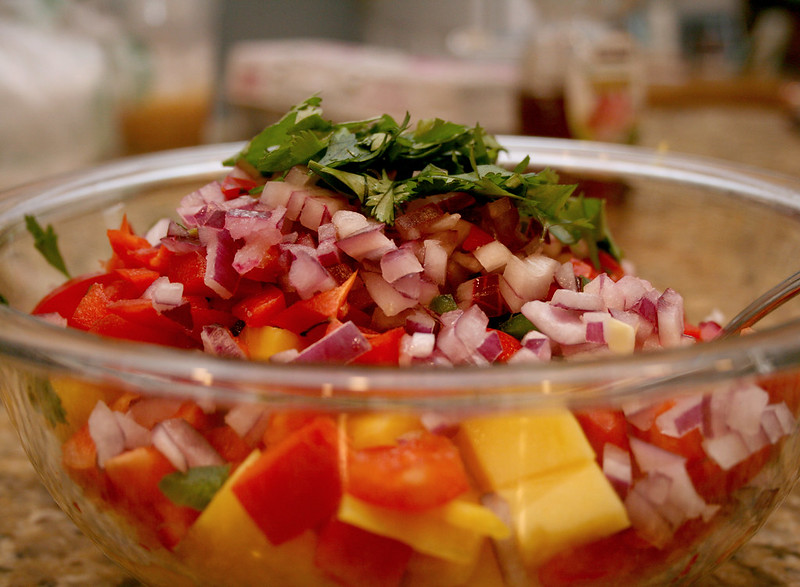
Mango Salsa is tangy, sweet and spicy. It is a fresh and easy to prepare. Serve it with tortilla chips, on a flour tortilla with grilled chicken and rice, or my favorite way, serve with a French lentil salad.  This salsa is easily adaptable to ingredients you have on hand, add a chopped peach, tomato or nectarine or use lemon juice instead of the lime juice.  Make it your own.

Mango Salsa

3 ripe mangoes
1 medium red bell pepper
½ chopped red onion
½ cup packed fresh cilantro or parsley leaves
½ to 1 jalapeño depending on your heat tolerance
1 large lime, juiced 
Salt to taste

Dice mangoes into ½ inch cubes carefully cutting around large seed.
Chop red pepper and onion into a small dice.
Chop jalapeño into a fine dice.
Rough chop parsley or cilantro.
In a large bowl, combine the chopped mango, bell pepper, onion, cilantro and jalapeño.
Add the lime juice and mix the salsa.
Salt to taste.

Let rest for 30 minutes.

February 21, 2017

Hi Hat Cupcakes


dipped hi-hat cupcakes

IMG_1675

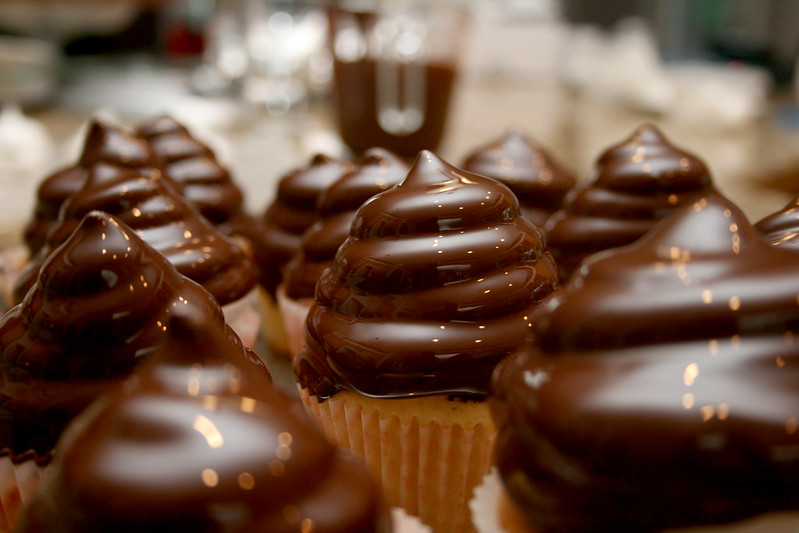
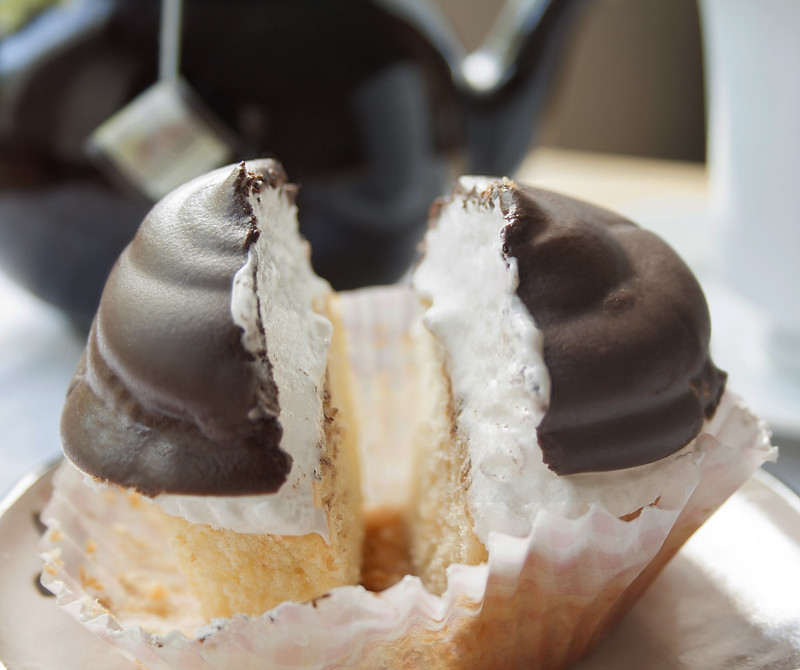
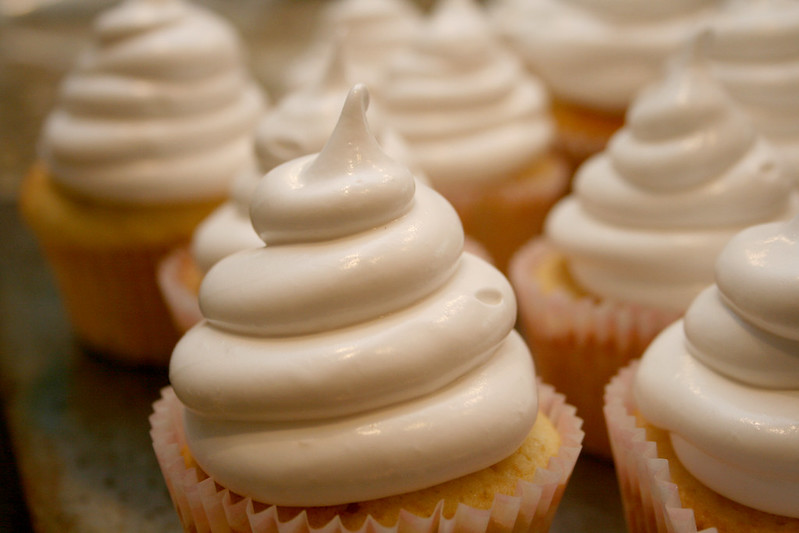
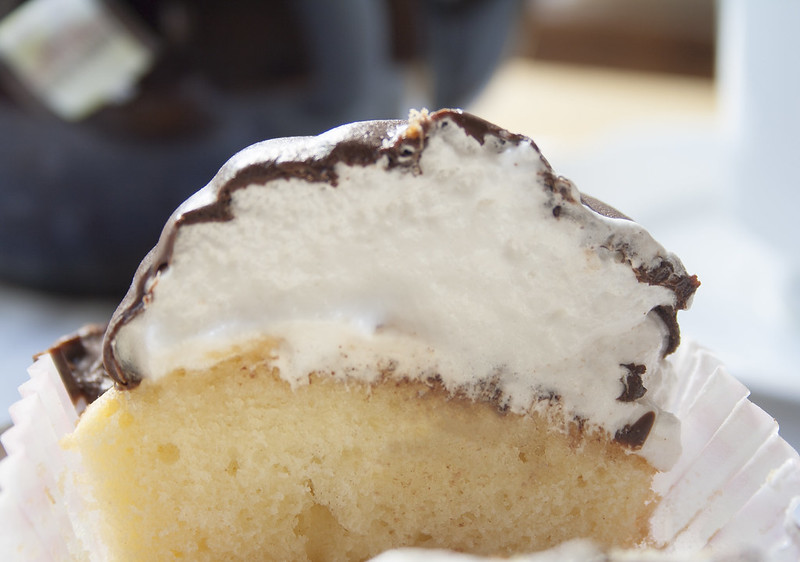
Many versions of this cupcake are seen with chocolate cupcakes, but I desired my delicious vanilla cupcake recipe.  These are fun cupcake that are impressive.

Hi Hat Cupcakes
Makes 12 cupcakes

I recipe vanilla cupcakes
1 recipe marshmallow frosting
1 recipe chocolate dipping sauce

Vanilla Cupcakes
Makes 12

3 large eggs
1 ½ teaspoons vanilla extract
1 ½ cups of cake flour
3/4 teaspoon baking powder
¼ teaspoon salt
1 ¼ cups sugar
3/4 cup (1 1/2 sticks) butter at room temperature
1/3 cup buttermilk

Preheat oven to 325° Fahrenheit
Line or grease muffin tin.
Whisk eggs, vanilla in medium bowl to blend.
Mix flour, baking powder and salt in another bowl with whisk.
In a mixing bowl, cream together the sugar and butter.
Scrape sides and add the egg mixture mixing until blended.
Add the dry ingredients alternately with the buttermilk in two additions each.
Bake for 25 minutes or until done with a cake tester no longer has crumbs when inserted into a cupcake.

Marshmallow Frosting

1 3/4 cups sugar
3 large egg whites
1/4 teaspoon cream of tartar
1 ½ teaspoons vanilla extract

In a large heatproof bowl, combine sugar, 1/4 cup of water, egg whites, and cream of tartar.
Use a handheld electric mixer, your stand mixer, beat on high speed until foamy, about 1 minute.
Set bowl over a pan of barely simmering water.
Beat with the electric mixer or a hand mix until frosting registers 160° Fahrenheit on a candy thermometer.
Move bowl to stand mixer and whisk until stiff peaks form. 
If using the hand mixer, continue over the double boiler until stiff peaks are formed about 14 minutes.
Remove from heat; stir in vanilla extract, and beat for 2 minutes more until frosting thickens.
Transfer frosting to a large pastry bag fitted with a 1/2-inch plain pastry tip.
Leaving a 1/8-inch border on each cupcake, pipe a spiral of frosting into a 2-inch-high cone shape, using about 1/2 cup of frosting per cupcake.
Transfer cupcakes to a baking sheet, and refrigerate while preparing the chocolate coating.

Chocolate Coating

2 cups chopped (about 12 ounces) semisweet chocolate
3 tablespoons canola or vegetable oil

Combine chocolate and oil in a medium heat-proof bowl set over a medium saucepan of barely simmering water; stir until melted and smooth.
Transfer to a small bowl, and let cool about 15 minutes.

Assembly

Hold each cupcake by the bottom, and then dip cupcake in the chocolate to coat frosting.
Quickly allow excess to drip off.
Transfer to a wire rack.
Let cupcakes stand at room temperature 15 minutes.
Set chocolate coating in refrigerator for 30 minutes.
Cover, and refrigerate for 2 hours more.

Cupcakes can be refrigerated for up to 3 days.

hi hat cupcake birthday cupcakes before the dip

IMG_1714a


February 8, 2017

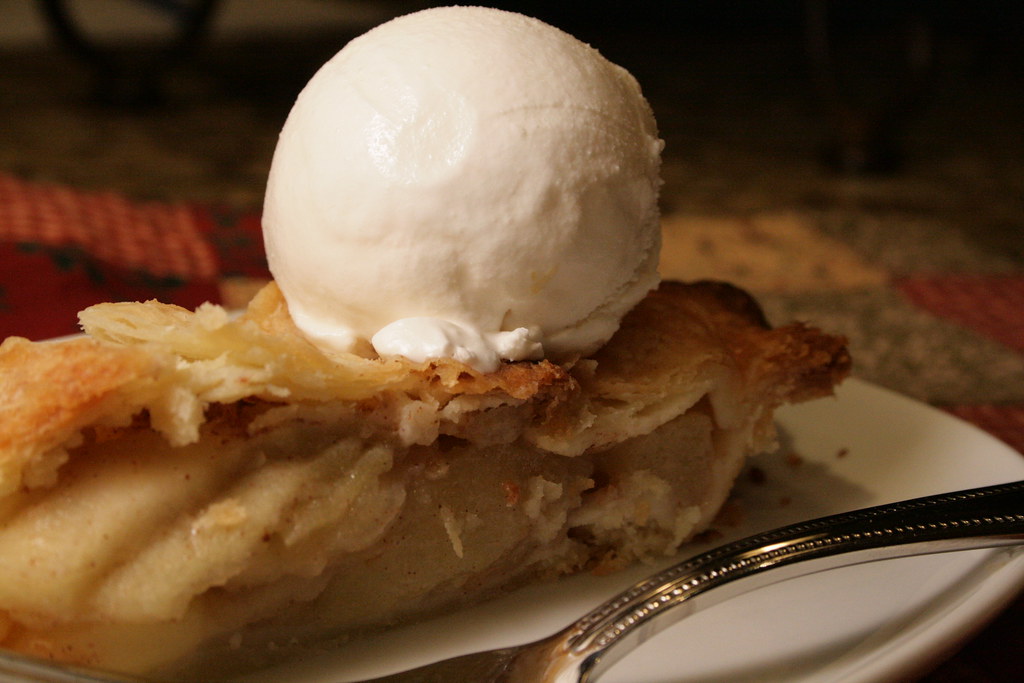
Apple Pie

malus domestica

IMG_8461a

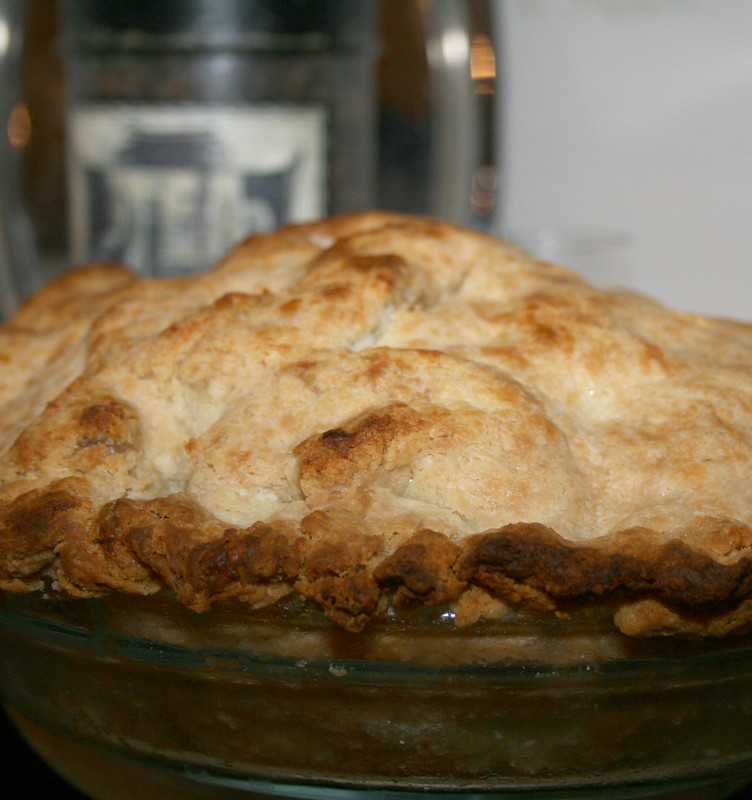
It is easy to appreciate that the low round pie shape of modern apple pie comes from the frugal Pilgrims settlers looking for a way to stretch ingredients and survive.  Pie is a delicious way to deliver cooked fruit or meat to the table. The idea of a bowl of cooked fruit is not as appealing as the balance of the fruit to crust ratio of a pie.  Yet, the frugal Pilgrims' version was too much for me as I have not always been a fan of cooked fruit encased in a delicious crust.  I remember not liking a fast food hot apple pie as a child or my grandmother’s frozen boxed pies served for dessert.  I remember my mom making apple pie just the way I like it, now, not too sweet and syrupy but sadly I don’t remember eating her apple pie except as a vehicle to eat whipped cream and crust with the sweet filling squeezed out.  Thank goodness things have changed, I love the smell, taste, and texture of, especially, apple pie. 

I always double this recipe (apples only).  I make an apple pie for the table and one to freeze for later.  In a foil and plastic wrap lined pie plate add in the apple mixture, wrap and freeze.  When ready to bake the frozen pie, prepare crust, add the frozen unwrapped pie in the crust, cover with second crust and proceed as below.  Bake for 10 – 15 minutes longer until done.  Do not thaw the apples.  This is a beautiful way to have a dessert on hand for nearly any occasion.

Apple Pie
makes 1 pie

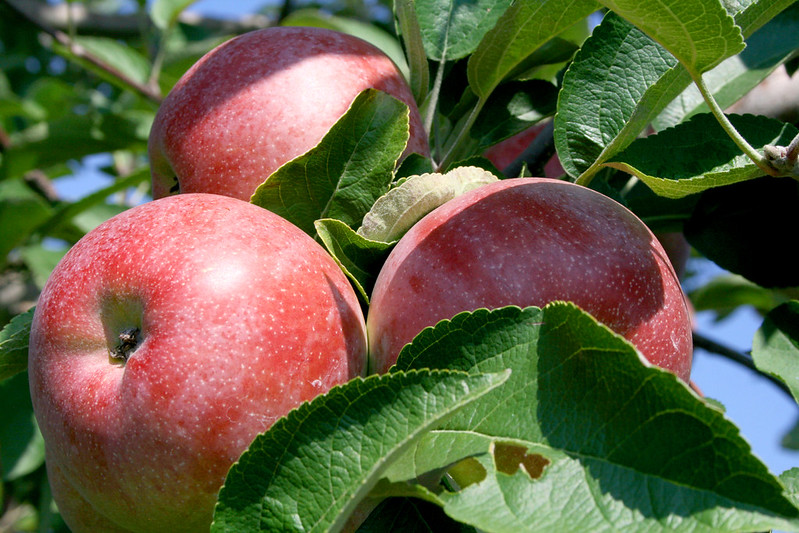
7-8 tart apples such as Granny Smith, Honeycrisp, Gala or a mix
¾ cup sugar
2 tablespoon flour
1 teaspoon cinnamon
Dash of nutmeg
1/8 teaspoon salt
2 tablespoons butter
Pie pastry for 2 crusts (see below).

Preheat oven to 400°F.
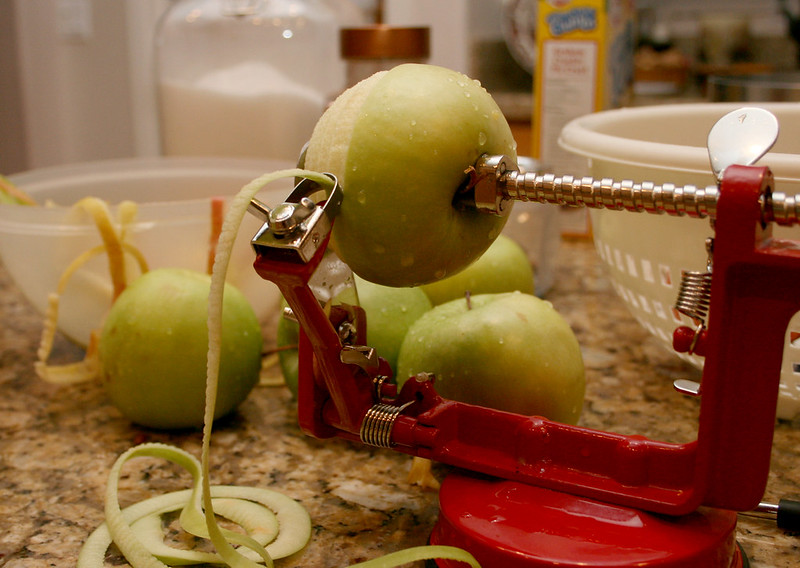
Peel and slice apples thin. (I use a spiral apple peeler).
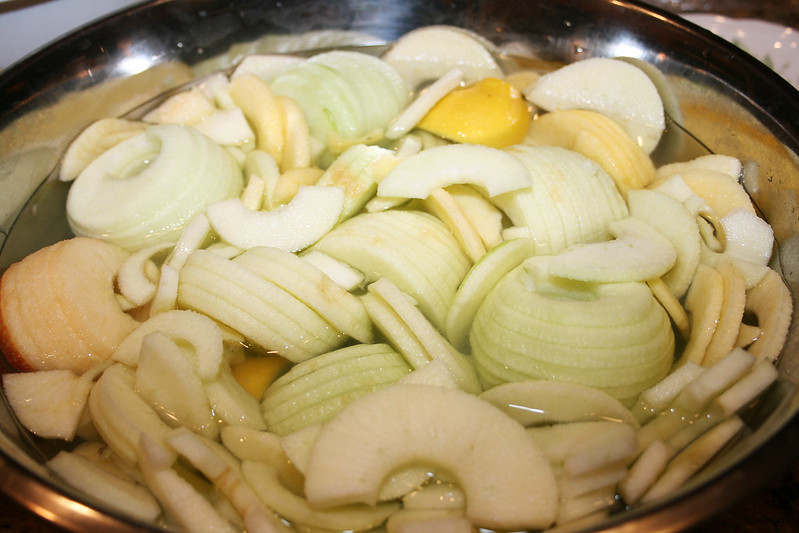
Place peeled apples in a large bowl of with lemon juice from a lemon squeezed into the water until all apples are peeled.
In a bowl toss the well-drained apples with the cinnamon, nutmeg, flour sugar, and salt.
Roll out crust and line a 9 inch pie plate.
Empty the filling into the crust lined pie plate and top with butter.
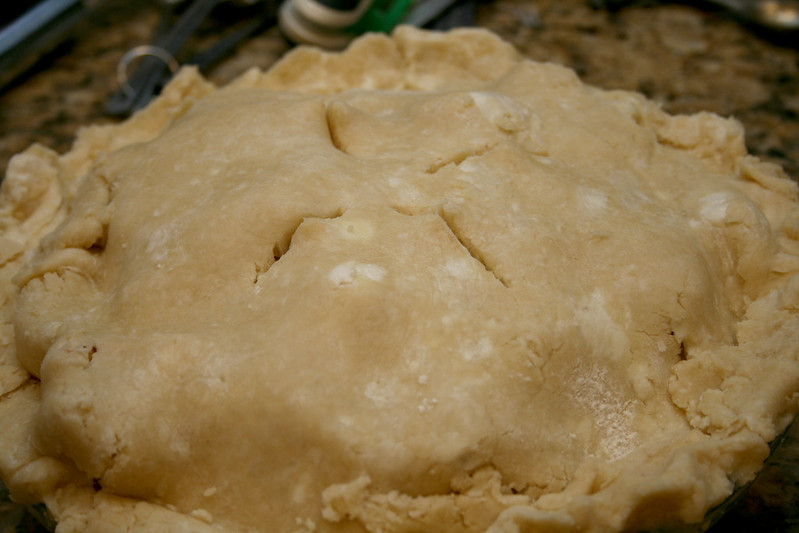
Roll out second crust and carefully place on top of pie.
Press edges together and trim edges to 1 inch.
Crimp edges with thumb and index finger of one hand, gently press dough against knuckle of other hand; continue around pie making deep indentations.
Chill pie for 30 minutes.
Place on a foil lined baking sheet.
Bake for 50 minutes until done.

If the edges began to darken, cover with foil.

Pie Crust Pastry
Makes top and bottom

2 ½ cups all-purpose flour
1 teaspoon salt
1 teaspoon sugar
8 ounces (2 sticks) cold unsalted butter, cut into small pieces
1/2 cup ice water without cubes

In a food processor:
Pulse flour, salt, and sugar in a food processor until combined.
Add butter, and process until mixture resembles coarse meal, about 10 seconds.
With the machine running, add water in a slow, steady stream until mixture just begins to hold together.
Shape dough into 2 disks. Wrap each in plastic, and refrigerate 1 hour to 2 days (or freeze for up to 1 month; thaw in refrigerator before using).


Apple Pie


apple peeler a gift from mom

IMG_8455a

apple pie ready for the oven


red delicious apples

February 6, 2017

Kale Pesto


kale

kale pesto

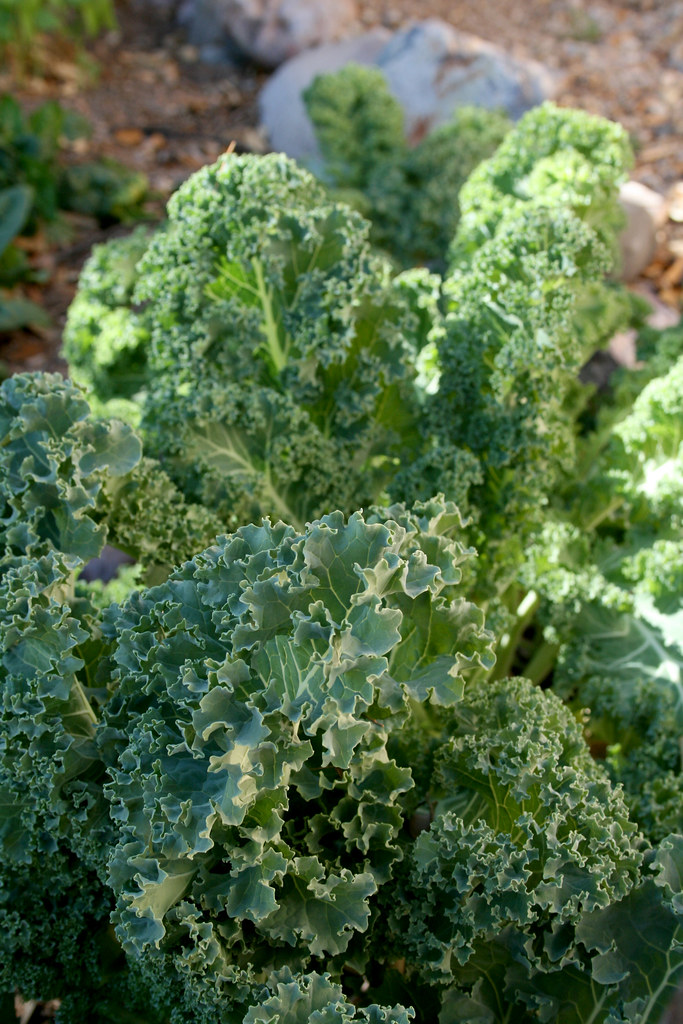
The reputation of kale is so big and so wonderful that it is surprising that cities are not named after it!  Kale is packed with nutrients, said to improve the health of eyes, skin, hair, bones and digestion.  It improves eye and heart health.  It is an antioxidant.  “Eat More Kale” is the phrase of the brain health community.  I appreciate that kale is so wonderful but I simply like to eat kale – it tastes good.  I like to lay chopped kale at the bottom of my soup bowl before I ladle soup in, add it to salads, make kale chips (I can easily eat a whole head of kale in the kale chip form), and now I like it as a delicious pesto.  It is tasty and hearty.  Add another star to kale because the pesto did not turn black when refrigerated like basil pesto.

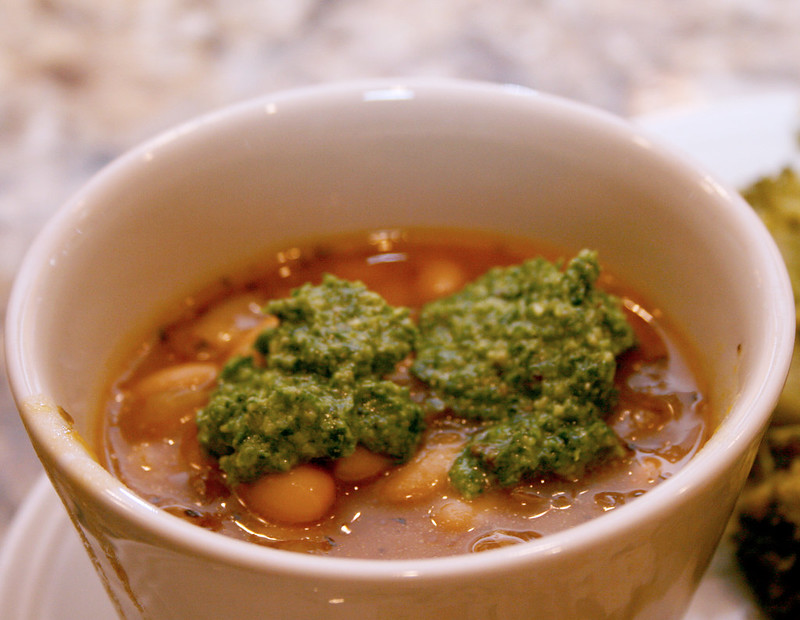
I used the pesto as an addition to a quick bean soup but you can toss your pasta with it or spread it on a cracker or bread.  Who knows maybe there will be a town named for kale – Kale, California?

Kale Pesto
2 cups packed torn kale leaves, stems removed
1 cup packed fresh basil leaves
1 teaspoon sea salt
¼ cup olive oil
¼ cup toasted walnuts
3-4 cloves garlic
½ cup grated Parmesan cheese

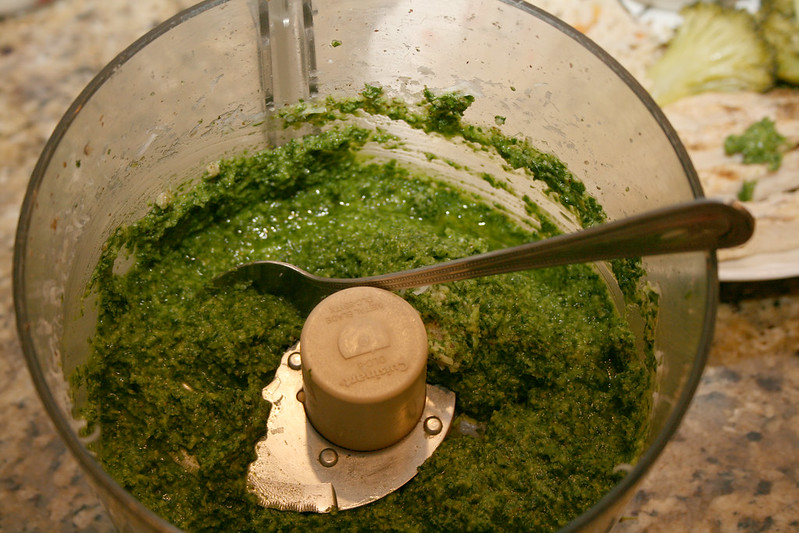
In a food processor, combine the kale leaves, basil leaves, and salt pulsing until the kale is chopped up. With the motor running, drizzle in the olive oil.
Scrape down the sides of the processor.
Add the walnuts and garlic and process until a smooth paste is formed.

Add the cheese and pulse to combine. 

quick bean soup with kale pesto

October 12, 2016

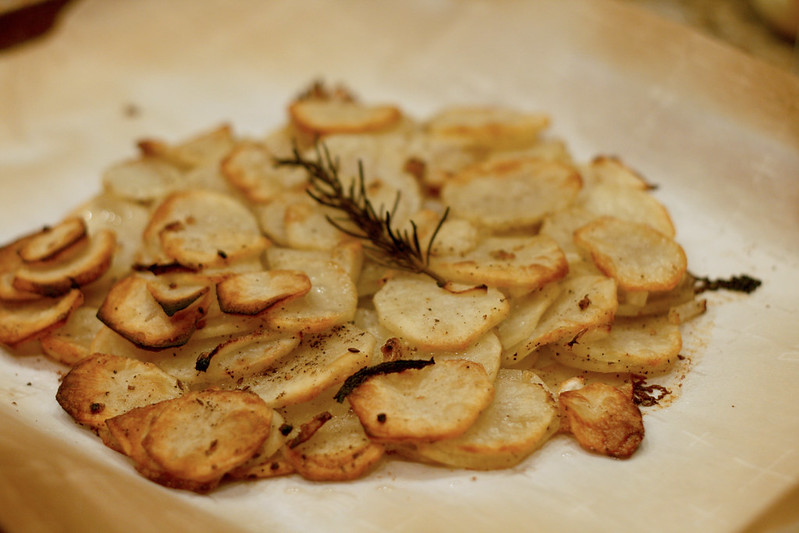
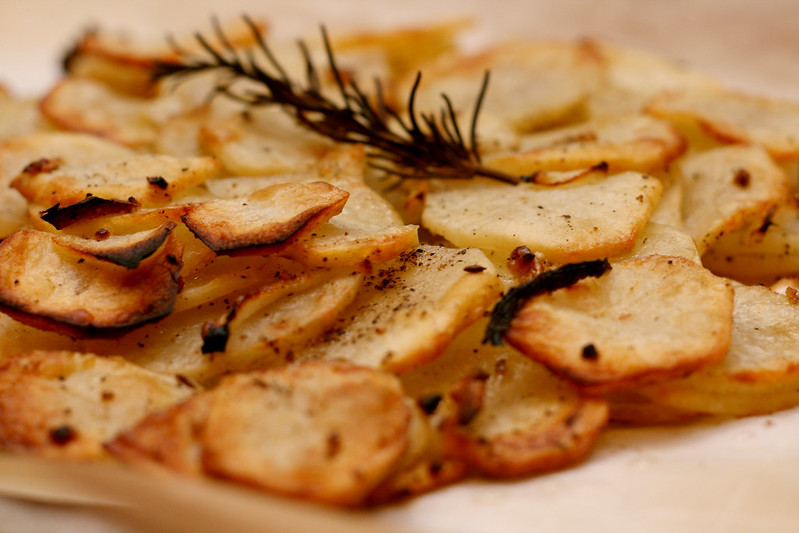
Vegan Potato Galette with Rosemary, Thyme and Caraway


olive oil and rosemary potato galette

Untitled

The flow of life is generally steady, the course is chosen and followed and down that path surprises or stumbling blocks  show up.  Over the past year I was stricken with a sudden and swift dairy and nut allergy.  It literally showed up overnight but it took me a whole year to realize that I must be dairy free.  My beloved butter has been the last to go. So now I am on a quest to find creamy goodness without dairy or everything tasting like a coconut as many vegan recipes rely heavily on the coconut.  

This is a simple, crisp and delicious recipe.  For a non-vegetarian version swap out 2 tablespoons of the olive oil for 2 tablespoons of rendered and melted bacon fat.

If you prefer butter and a cast iron pan, see this recipe.

Vegan Potato Galette with Rosemary, Thyme, Caraway and Onions

¼ cup (4 tablespoons) extra virgin olive oil
2 tablespoons non-dairy butter like Earth Balance
1/2 teaspoon caraway seeds
1 teaspoon (or more) kosher salt
1/2 teaspoon freshly ground black pepper
2 pounds Yukon Gold potatoes cut into 1/8'-thick slices with a mandolin slicer
1 small thinly sliced sweet onion

Preheat to 425°.
Arrange a rack in middle of oven.
Line a baking sheet with parchment paper or use a Silpat rated for 425°.
Set the ring portion of your 9 inch spring form pan on the paper.
Toast caraway in a small skillet over medium heat until fragrant, about 1 minute and let cool slightly.
Crush in with mortar and pestle or with a rolling pin or meat mallet.
In a large bowl toss to coat potatoes, olive oil, salt, pepper, crushed caraway seeds.
Arrange 1/4 of potatoes in an even layer inside ring on baking sheet to create a solid overlapping base.
Toss onion in a large bowl with 1 Tbsp. melted dairy-free butter, or regular butter if using.
Arrange 1/3 of onion over potatoes.
Repeat layers two more times for a total of 3 potato and 2 onion layers.
Finish with a layer of potatoes.
Carefully remove ring.
Bake until potatoes are tender, about 45 minutes.
Dot the top of the galette with small bits of the remaining tablespoon of butter (vegan or regular).
Bake for 5 to 10 minutes until edges of potatoes are deep golden and top is crisp
Run a thin spatula under galette to loosen from foil and move to a serving dish.


Season the galette with salt and pepper.

July 15, 2016

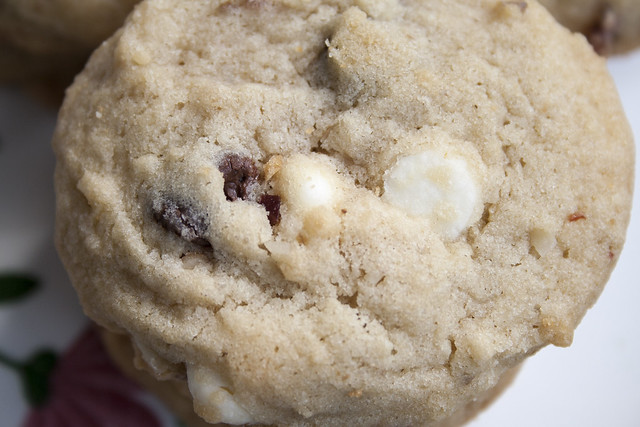
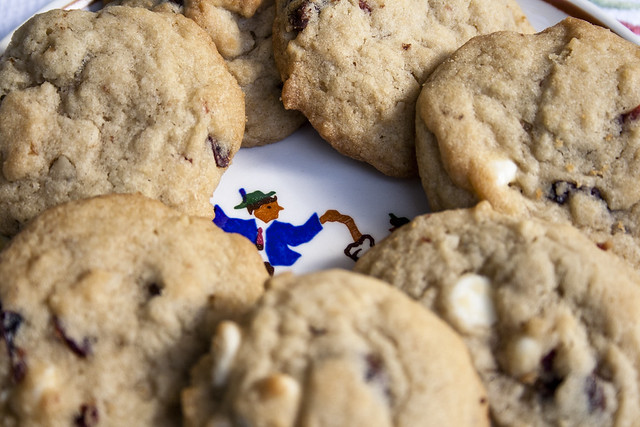
Cranberry Walnut and White Chocolate Chip Cookies


cookies

Untitled

Homemade chocolate chip cookies are a staple in my house.  I make them at least two times a month and I am always looking for a creative way to change the basic cookie.  The Cranberry Walnut and White Chocolate Chip Cookie is a twist on the traditional chocolate chip cookie.  Add your favorite nuts or seeds and dried fruits.  I like to give my cranberries a chop for a more even distribution throughout the cookie.

Cranberry Walnut and White Chocolate Chip Cookies
Makes 2-3 dozen 2 inch round cookies

1/2 cup softened butter
1/2 cup granulated sugar
1/2 cup packed light brown sugar
1 egg
2 teaspoons vanilla extract
1 1/2 cups unbleached all purpose flour
1/2 teaspoon baking soda
1/2-3/4 cup chopped dried cranberries
3/4 cup best quality white chocolate chips
1/2 cup chocolate chips (optional)
1/2  cup chopped walnuts

Preheat oven to 375°F.
In a medium size bowl combine with a whisk flour and baking soda and set aside.
In a large mixing bowl cream butter, white and brown sugars until creamy.
Add egg and vanilla and mix until combined.
With mixer on low speed, gradually add flour mixture and mix until combined.
Mix in on low speed nuts, chips and cranberries until just combined.
Scoop dough using tablespoon cookie scoop or two teaspoons and drop 2 inches apart on an ungreased baking sheet.  
Bake for 8-10 minutes or until lightly browned.
Cool on wire racks.


walnut cranberry white chocolate chip cookies

IMG_5751a

January 30, 2016

Buttermilk Chocolate Cake and My Sister's Cocoa Frosting

IMG_8320a

IMG_8309a

IMG_8293a

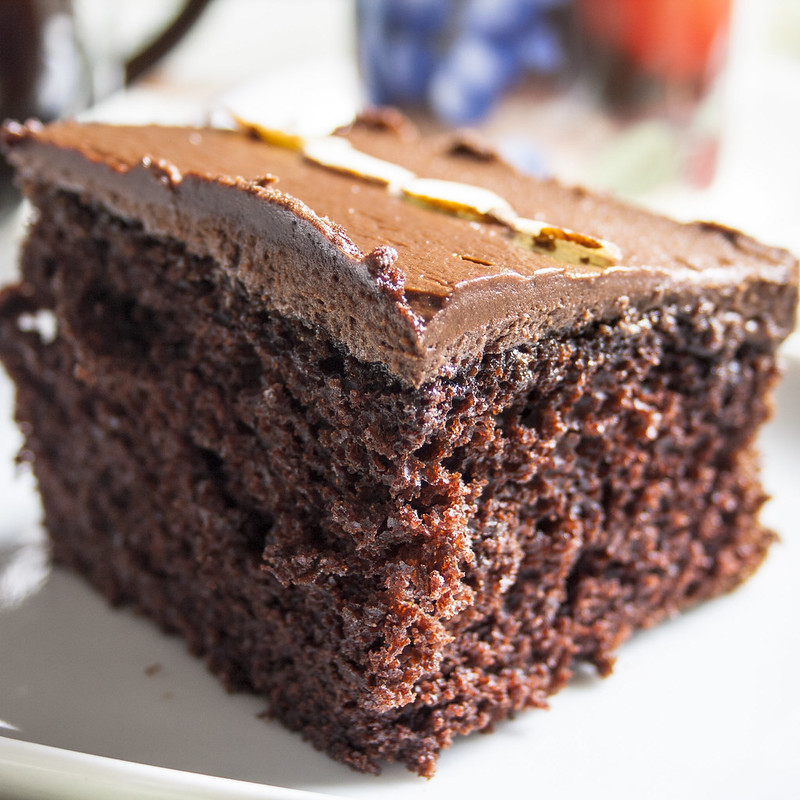
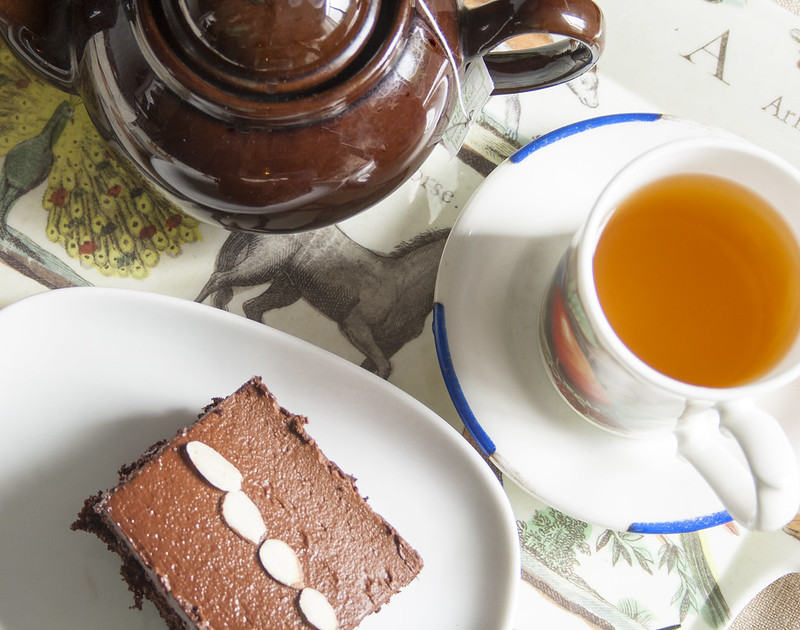
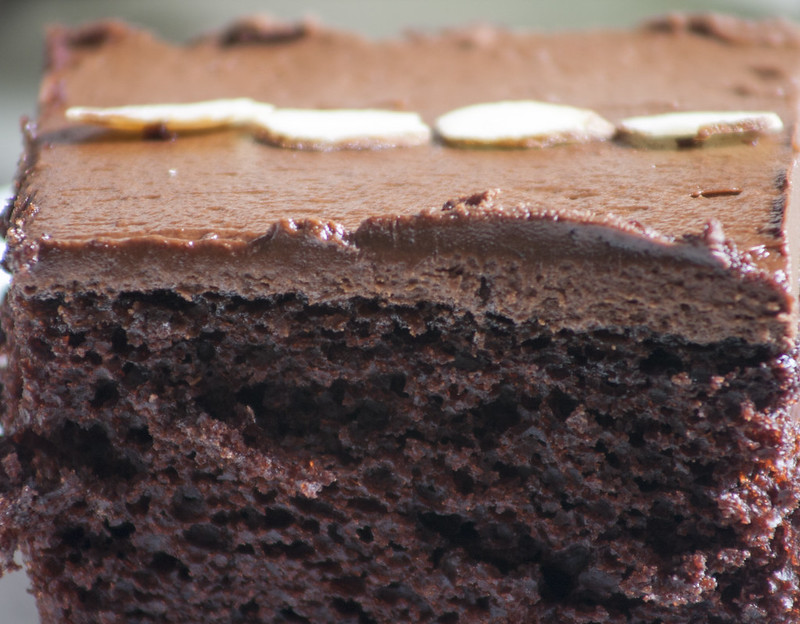
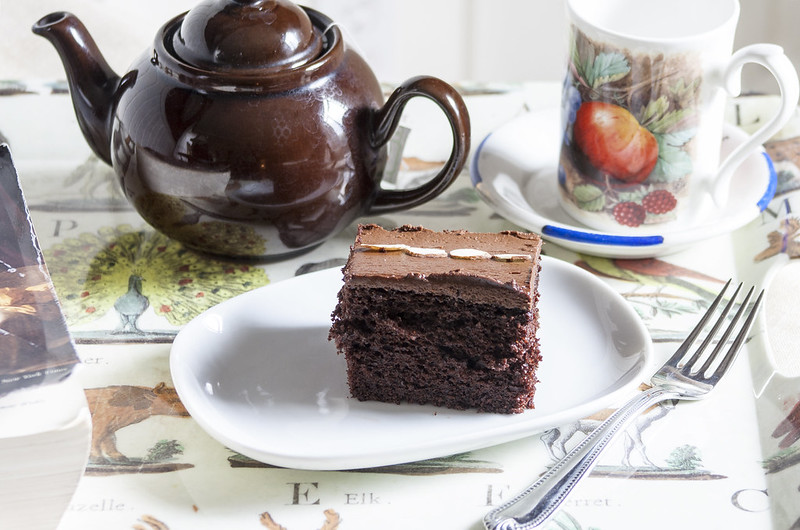
I am so grateful for chocolate cake.  Sometimes I crave chocolate cake with a rich chocolate frosting.  There was a time when I thought box chocolate cake was the best cake (my grandmother’s specialty was Duncan Hines chocolate cake baked in a sheet pan and frosted with white frosting made with Crisco and then covered liberally with festive rainbow sprinkles).  I have vastly improved my grandmother’s cake that I loved as a child.  Today, I have the benefit of a wide range of available products plus instant access to videos and thousands of recipes to compare that helps me inject the same love and care into my cakes like my grandmother.  One of my favorite recipes is my Mom’s Chocolate Cake recipe, a delicious moist, fudgy and chocolaty recipe.  This buttermilk cake has its own character -  a slight tang and tenderness from the buttermilk with full chocolate flavor especially if you use your best quality cocoa powder.  I use Ghiradelli, or Droste.  I have used Hershey’s and it a good chocolate cake, but the extra fine cocoa makes the chocolate flavor stand out.  A single layer easy cake to make is this Chocolate Fudge Cake.

My sister’s chocolate frosting is so simple yet so delicious.  The best quality cocoa powder is a real standout here.  When she makes this recipe she uses 2-3 cups of powdered sugar and 6 tablespoons of milk.  I use the 5 cups for a stiffer and sweeter frosting.

Buttermilk Chocolate Cake

1 ¾  cups all-purpose flour, plus more for pans
2 cups sugar
¾ cups best quality cocoa powder
2 teaspoons baking soda
1 teaspoon baking powder
¾ teaspoon salt
1 cup buttermilk, shaken
½ cup vegetable oil
2 large eggs, at room temperature
1 teaspoon pure vanilla extract
1 cup freshly brewed hot coffee

Preheat oven to 350ºF.
Butter two 8-inch inch round cake pans or 1 9 x13-inch pan.
Line with parchment paper, then butter and flour the pans.

Whisk together the flour, sugar, cocoa, baking soda, baking powder, and salt in the bowl of an electric mixer.
In another bowl, combine the buttermilk, oil, eggs, and vanilla.
Using the paddle attachment, with the mixer on low speed, slowly add the wet ingredients to the dry.
With mixer still on low, add the coffee and stir just to combine, scraping the bottom of the bowl with a rubber spatula.
Pour the batter into the prepared pans and bake for 35 to 40 minutes, until a cake tester comes out clean.
Cool in the pans for 30 minutes, then turn them out onto a cooling rack and cool completely.

My Sister’s Cocoa Frosting

½ cup plus two tablespoons of softened butter
5 cups powdered sugar – my sister uses 2-3 cups
8 tablespoons of milk
3/4 cup plus 3 tablespoons unsweetened, best quality, cocoa powder
1 ¼ teaspoons vanilla

Beat butter until smooth and creamy.
Gradually add powdered sugar, milk, and vanilla.
Add cocoa powder and mix until smooth and creamy

Add additional milk or powdered sugar as needed to reach the desired spreadable consistency.

Place 1 layer, flat side up, on a flat plate or cake pedestal. With a knife or offset spatula, spread the top with frosting.
Place the second layer on top, rounded side up, and spread the frosting evenly on the top and sides of the cake.
Or frost the top of the 9 x 13-inch cake in pan or removed from pan, as desired.

IMG_8289a

July 1, 2015

Mixed Starter Bread

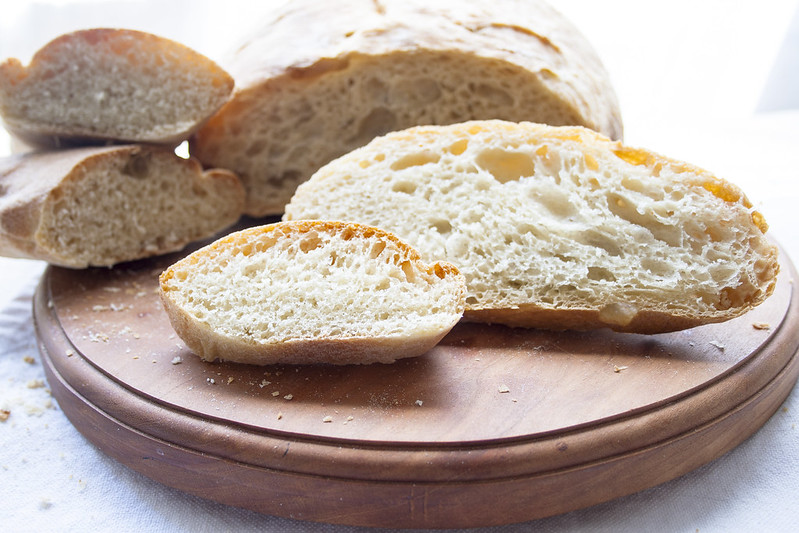
mixed starter bread

IMG_4721a


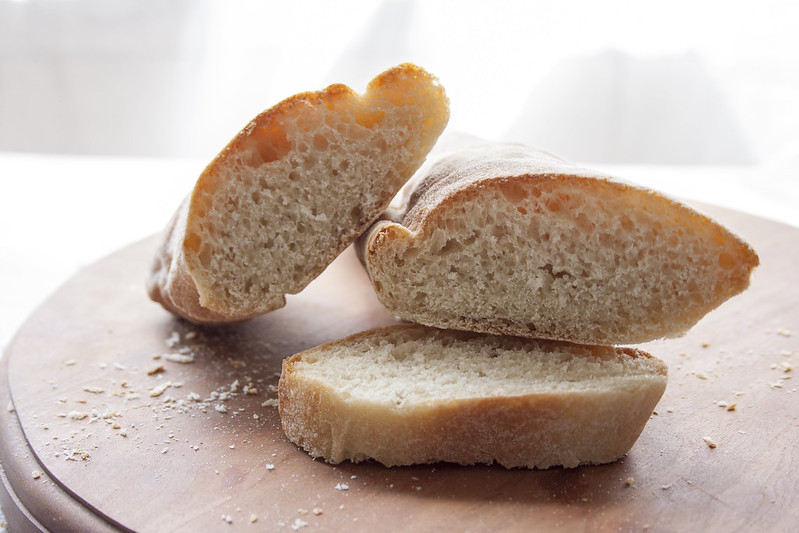
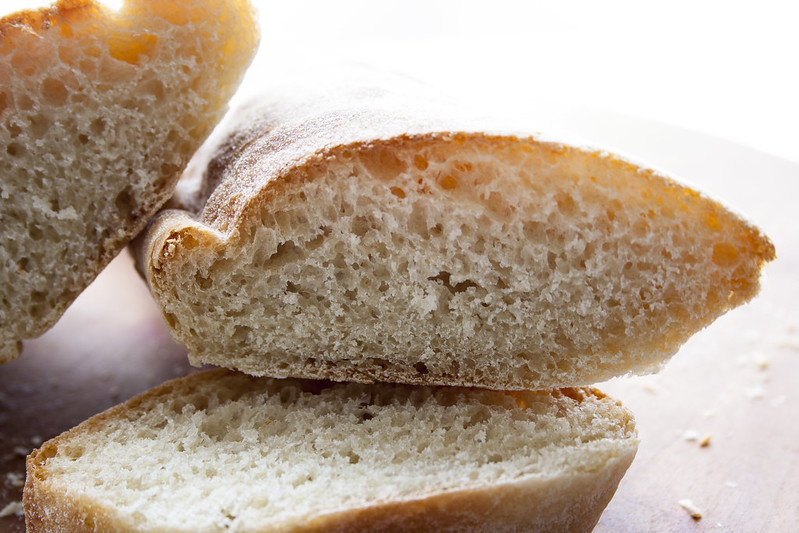
I have always wanted to understand the mysteries of making bread.  As a small child I watched my mother mix and knead bread by hand in our kitchen in southern California.  She stood at the counter to the left of the stove and kneaded the dough with a passion.  Times were tough and homemade bread was more economical than store bought bread.  This was during the times when store bought manufactured products symbolized ease, convenience, stability and success.  I loved the smell of the yeasty dough, the magical round of dough in a bowl rising under a towel on the stove, and the wonderful smell of baking bread that filled the house.  This bread was precious even though it came about during a time of hardship it bound my family together around our small table with the cozy warmth that homemade bread brings to a home.

I have yet to master bread making but year by year I increase my skills as I continue to make and try new recipes.  I have always wanted to use a starter so this was my first attempt.  My son was inspired to make bread while I made this bread and he made No Knead Bread and we had a taste test between the two (the round loaf in the bottom photo).  The Mixed Starter bread had a deeper, richer flavor than the no knead bread which I contribute to the longer process of flour and yeast development .

Two Day Mixed Starter Bread

DAY ONE
Old-dough Starter - 8 hour rise
½ ounce of risen dough from white bread or pizza (I saved a piece of my pizza dough)
¼ cup warm water (105ºF to 115ºF)
2/3 cup unbleached all-purpose flour

Second Starter - 4 hour rise - up to an 8 hour chill
All of the old-dough starter
¼ cup warm water (105ºF to 115ºF)
¾ cup unbleached all-purpose flour

DAY TWO
Final Dough – 1 ½ hours rise
1 ¼ cups cool water (78ºF)
3/4 teaspoon active dry yeast
Second starter, cut into pieces
3 1/3 cups unbleached all-purpose flour
1 tablespoon kosher salt

Shape Dough, Final Rise – 1 ½ hours, Bake – 20 minutes

Old-dough Starter
Cut the old dough into pieces and add them to stand mixer bowl.
Add the warm water, and let sit for about 5 minutes.
With the paddle, gradually add the flour for 2 to 3 minutes.
Place it back into the bowl, cover with plastic wrap, and let it rise in a warm place for about 8 hours.
The dough will be soft, springy, bubbly and sticky.
Second Starter
Scrape old dough starter onto cutting board and cut into 4 pieces.
Place pieces in stand mixer mixing bowl and add warm water.
Let dough soften for about 5 minutes.
Mix in flour with paddle attachment and mix on low for 2-3 minutes.
This dough will be soft.
Transfer dough to large bowl, cover with plastic wrap and let rise in a warm place for 4 hours.
The dough will double and the gluten will be long and lacy when stretched and smell sweet and yeasty.
Chill dough for a minimum of 1 hour but no more than 8 hours.
Final Dough
In the bowl of a stand mixer, add the water, the yeast, and the second starter pieces.
Let sit for 5 minutes.
Add all of the flour and mix at low speed with the paddle until dough is cohesive and flour is incorporated.
Let dough rest for 10 minutes.
Sprinkle the salt over the dough.
Knead on medium to medium high for about 8 minutes.
Dough will be soft and moist.
If the dough rises up the hook push back down into bowl.
Place the dough into an oiled bowl and cover with plastic wrap.
Let it rise for 90 minutes in a warm spot (80ºF to 85ºF).
The dough will have bubbles visible under the surface.
Gently stretch and fold the dough over itself from all four "sides," and let it rise, covered, for another 45 minutes.
Baguette Shape
Portion off dough into 10 ounce pieces.
Shape into rough rectangles without smashing the dough.
Working rapidly, turn the dough upside down on a lightly floured kneading surface and pat it firmly but not too roughly into an 8 to 10 inch oval with the lightly floured palms of your hands. Deflate any gas bubbles in the dough by pinching them.

Fold the dough in half lengthwise by bringing the far edge down over the near edge.

Being sure that the working surface is always lightly floured so the dough will not stick and tear, which would break the lightly coagulated gluten cloak that is being formed, seal the edges of the dough together, your hands extended, thumbs out at right angles and touching.

Roll the dough a quarter turn forward so the seal is on top.

Flatten the dough again into an oval with the palms of your hands.

Press a trench along the central length of the oval with the side of one hand.

Fold in half again lengthwise.

This time seal the edges together with the heel of one hand, and roll the dough a quarter of a turn toward you so the seal is on the bottom.

Now, by rolling the dough back and forth with the palms of your hands, you will lengthen it into a sausage shape. Start in the middle, placing your right palm on the dough, and your left palm on top of your right hand.

Roll the dough forward and backward rapidly, gradually sliding your hands towards the two ends as the dough lengthens.

Deflate any gas blisters on the surface by pinching them. Repeat the rolling movement rapidly several times until the dough is 16 inches long, or whatever length will fit on your baking sheet. During the extension rolls, keep circumference of dough as even as possible and try to start each roll with the sealed side of the dough down, twisting the rope of dough to straighten the line of seal as necessary. If seal disappears, as it sometimes does with all-purpose flour, do not worry.

Place the shaped piece of dough, sealed side up, at one end of the flour rubbed tea towel, leaving a free end of canvas 3 to 4 inches wide.

The top will crust slightly as the dough rises; it is turned over for baking so the soft, smooth underside will be uppermost.

Pinch a ridge 2 1/2 to 3 inches high in the tea towel to make a trough, and a place for the next piece. Cover dough with plastic while you are forming the rest of the loaves.

After all the pieces of dough are in place, brace the two sides of the tea towel with long rolling pins, baking sheets or books, if the dough seems very soft and wants to spread out. Cover the dough loosely with flour rubbed tea towel, and a sheet of plastic. Proceed immediately to the final rising, next step.

Place a pizza stone in your oven, and preheat it to 450ºF.
Place a cast iron pan on bottom rack and fill with 1 cup of water. 2 minutes before loaves go in.
Flip loaves onto a rice flour or corn meal coated peel or cookie sheet without sides.
Slash the baguettes with a razor or very sharp knife.
Make 3 diagonal slashes the length of the bread.
Slide loaves onto baking stone quickly to maintain the ovens temperature and steam.
Bake for 20 minutes until golden brown and interior temperature reads

Cool completely on a wire rack.


bread bake off