Showing posts with label bars. Show all posts

March 2, 2011

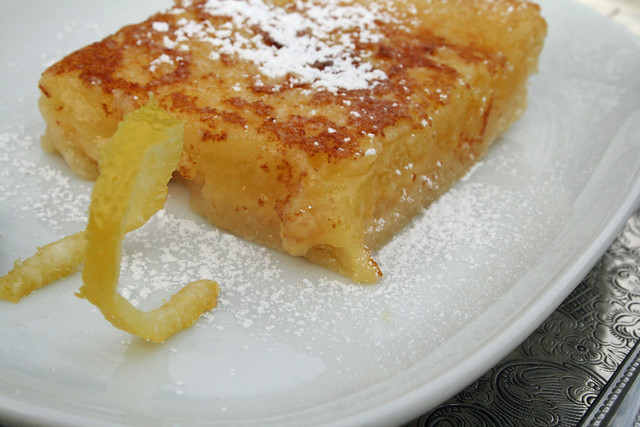
lemon bars

lemon bars

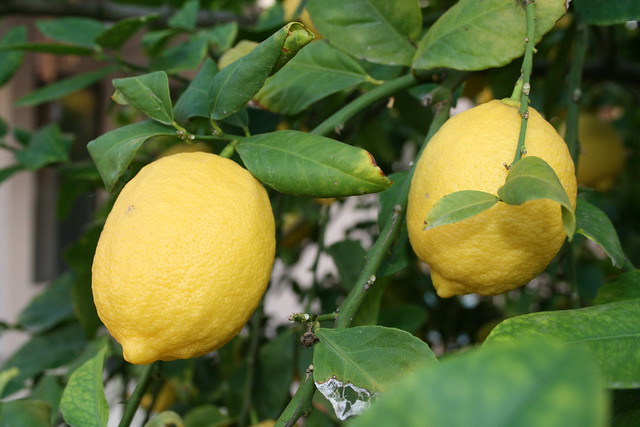
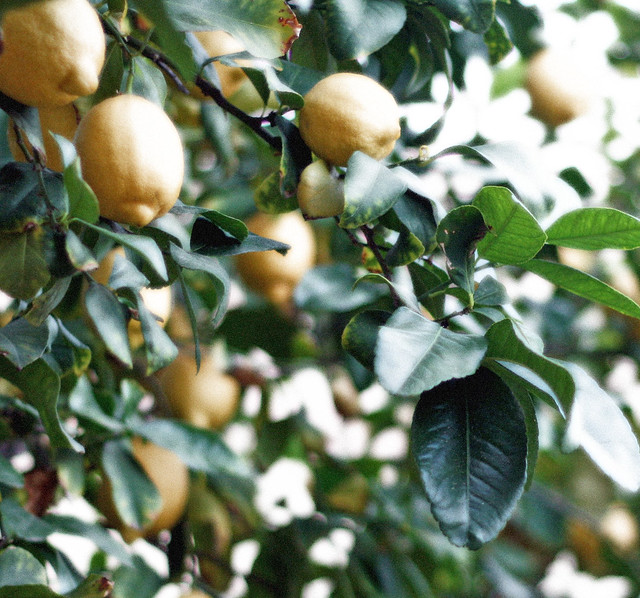
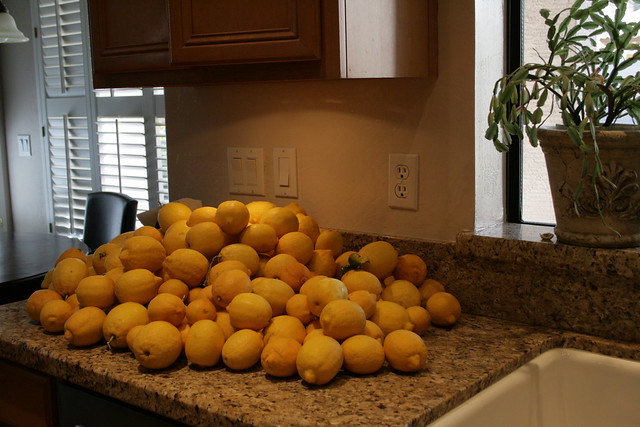
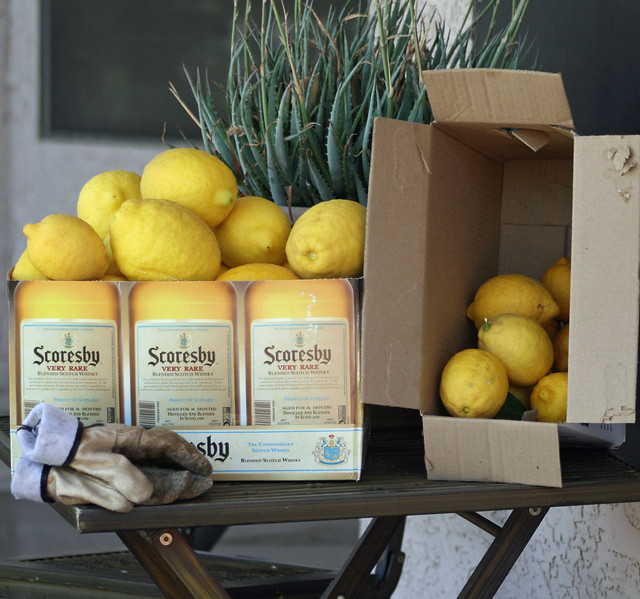
     It is that time of year - lemon harvest! I am fortunate to have a lemon tree in the back yard that produces really nice lemons that are aromatic, flavorful and the zest is wonderful. As I am always looking for new ways to use my lemons, lemon bars  came to mind after my sister told me about a cookie exchange she participated in and made lemon bars.  Sadly, I cannot remember if I ever tried one her lemon bars as we live far apart.  Lemons were not a big part of my childhood diet – summer time meant powdered lemonade mix and sometimes my Mom made lemon meringue pie with meringue a mile high.  I loved watching her whip up those egg whites to perfect stiffness.  Ironically, I did not like my Mom’s pie until I was an adult that I attribute to the high acidity and lack of lemon flavor of the grocery store plastic lemon juice she used being too strong for my small child palette.  I can remember my aunt making lemonade during the summer and using the plastic lemon juice and remember it tasting skunky.  Always use fresh lemon juice!! I juice and freeze mine so I always have some on hand.
    These bars offer a combination of creamy tartness perfectly balanced on an unobtrusive buttery and delicious crusty platform.  These are quick and easy to make and are perfect for Christmas cookie trays – they add a nice counterpoint to all the sweet cookies on a tray.  They are great at room temperature but equally as good icy cold.

Zesty Lemon Bars
Ingredients
Makes 20 bars

Crust
½ cup plus 3 tablespoons cold unsalted butter, cut into 1-inch pieces, plus more for pan
1½ cups unbleached all-purpose flour
½ cup confectioners' sugar
3 tablespoons cornstarch
1 teaspoon salt

Topping
2 cups granulated sugar
4 large eggs, lightly beaten
3 tablespoons unbleached all-purpose flour
½ cup plus 2 tablespoons plus 3/4 teaspoons freshly squeezed lemon juice
¼ cup plus 1 tablespoon milk
¼ teaspoon salt

Preheat oven to 350 degrees with a rack in the center of oven.
Butter a 9-by-13-inch baking pan.
To make crust: In the bowl of a food processor, combine flour, confectioners' sugar, cornstarch, and salt; process to combine.
Add butter to processor and process until mixture is pale yellow and resembles a coarse meal, about 10 seconds. If you don't have a food processor, whisk together flour, confectioners' sugar, cornstarch, and salt in a large bowl.
Add butter and work into flour mixture using a pastry blender or your fingers.
Pour crust mixture into prepared baking dish, pressing down with your fingers to create a ¼ inch thick layer along the bottom and ½ inch up the sides, pressing firmly at the edges to seal.
Transfer pan to freezer and freeze for 30 minutes.
Bake until golden brown, about 20 minutes.
Topping
In a large bowl, whisk together sugar, eggs, and flour; stir in lemon juice, milk, and salt until well combined.
Remove crust from oven.
Stir topping and pour into warm crust.
Return pan to oven and continue baking until topping is just set but not browned, about 20 minutes.
Transfer baking pan to a wire rack to cool completely.
Cut into squares.
Serve immediately or refrigerate covered until ready to serve.
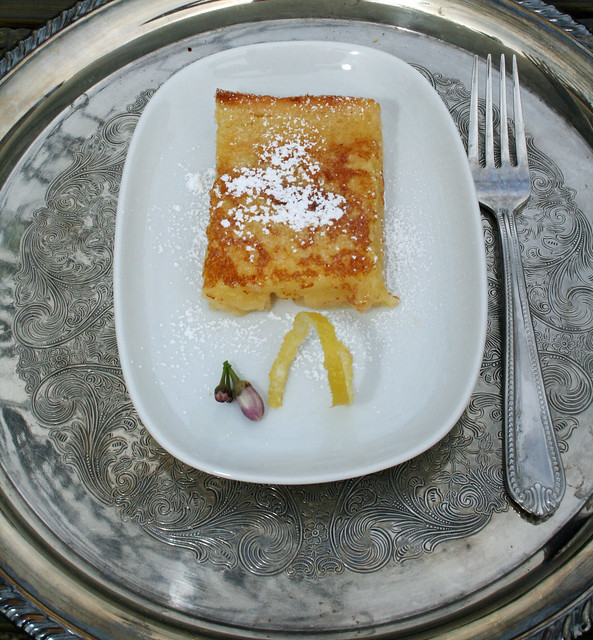
lemon bars

lemons

IMG_8326aa

what to do with the lemon harvest?

late lemon harvest

January 27, 2010

Nanaimo Bars

Nanaimo Bars Daring Bakers' January Challange

Nanaimo Bars

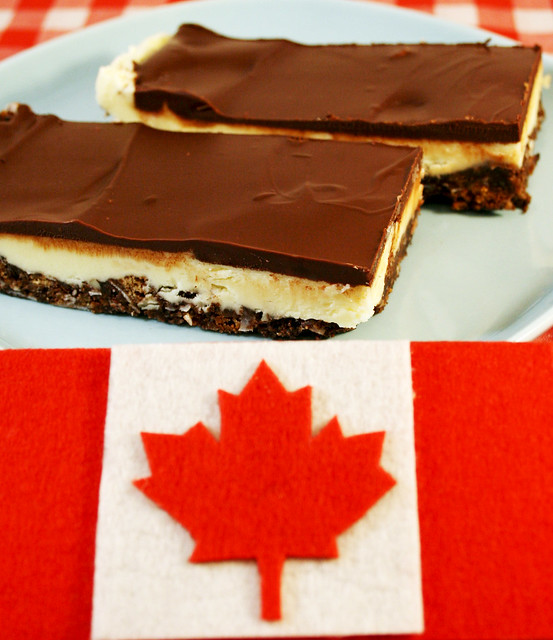
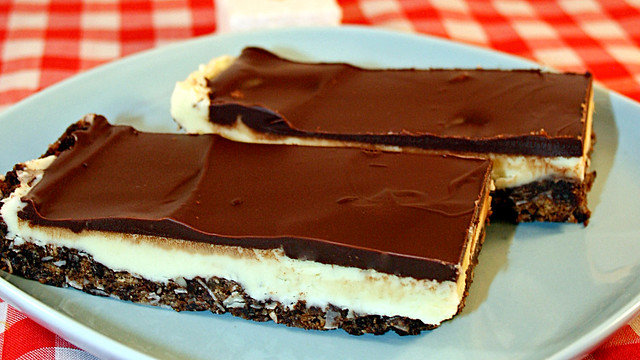
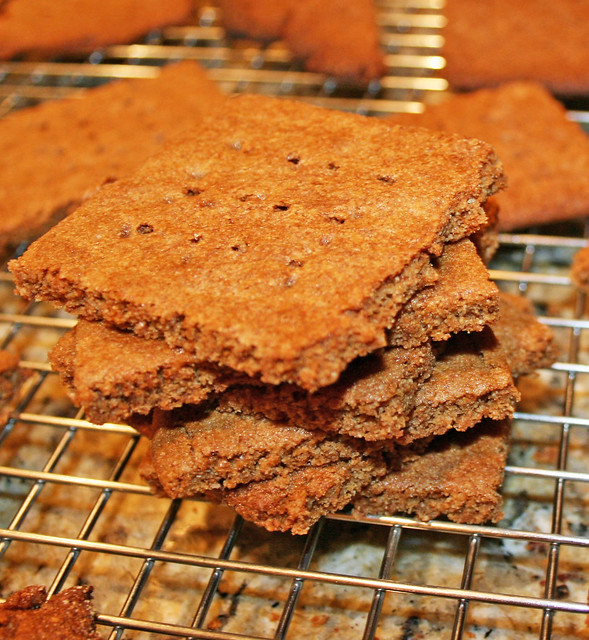
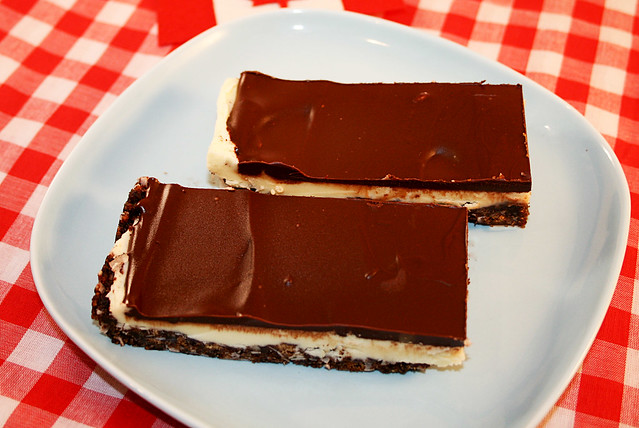
    This year's Daring Baker challenge begins with a celebration of Canada and the upcoming Winter Olympics.  We made a popular no-bake bar style cookie in Canada called the Nanaimo Bar named for the city of Nanaimo in British Colombia.  While the bar is popular for its no-bake feature, the Daring Bakers did have to do some baking!  Actually, the best part of the challenge was the homemade graham crackers because I have wanted to make homemade graham crackers for quite some time.  I chose to make my graham crackers with graham wheat flour.  When my own children were small, the graham cracker is an easy snack to give.  For a long while I used the widely popular supermarket graham crackers then becoming more aware of ingredients I switched to Trader Joe's brand which were okay.  Annie's Bunny Grahams were a favorite but they can be spendy and come in such small quantities. Lucky me, I now am happy to have a tasty graham cracker recipe in my recipe file.
    The Nainaimo bar somehow reminds me of a Magic Bar (Seven Layer Bar) except the Nainamo Bars have this center of frosting (I used pudding mix and I think maybe if I had used the custard powder it might have been creamier and more custardy).
Give this recipe a try especially if you need a dessert in hurry. If you don't make graham crackers the recipe goes quite quickly.

Nanaimo Bars
Preparation time
• Graham Wafers: 30 to 45 minutes total active prep, 2 ½ hours to overnight and 45 minutes inactive prep.
• Nanaimo Bars: 30 minutes.

For Nanaimo Bars — Bottom Layer
1/2 cup (115 g) (4 ounces) unsalted butter
1/4 cup (50 g) (1.8 ounces) granulated sugar
5 tablespoons (75 mL) unsweetened cocoa
1 large egg, beaten
1 1/4 cups (300 mL) (160 g) (5.6 ounces) whole wheat graham wafer crumbs (recipe follows)
1/2 cup (55 g) (1.9 ounces) almonds (any type, finely chopped)
1 cup (130 g) (4.5 ounces) coconut (shredded, sweetened or unsweetened)

For Nanaimo Bars — Middle Layer
1/2 cup (115 g) (4 ounces)unsalted butter
2 tablespoons and 2 teaspoons (40 mL) heavy cream
2 tablespoons (30 mL) vanilla custard powder (Such as Bird’s. Vanilla pudding mix may be substituted.)
2 cups (254 g) (8.9 ounces) icing sugar

For Nanaimo Bars — Top Layer
4 ounces (115 g) semi-sweet chocolate
2 tablespoons (28 g) (1 ounce) unsalted butter

Bottom Layer:  Melt unsalted butter, sugar and cocoa in top of a double boiler. Add egg and stir to cook and thicken. Remove from heat. Stir in crumbs, nuts and coconut. Press firmly into an ungreased 8 by 8 inch pan.
Middle Layer:  Cream butter, cream, custard powder, and icing sugar together well. Beat until light in colour. Spread over bottom layer.
Top Layer:  Melt chocolate and unsalted butter over low heat. Cool. Once cool, pour over middle layer and chill.
Freezes well.

IMG_3708

Whole Wheat Graham Wafers

2 ½ cups plus 2 tbsp of all-purpose wheat flour, or wheat pastry flour.
1 cup (200 g) (7.1 ounces) dark brown sugar, lightly packed
1 teaspoon (5 mL) baking soda
3/4 teaspoon (4 mL ) kosher Salt
7 tablespoons (100 g) (3 ½ ounces) unsalted butter (cut into 1-inch cubes and frozen)
1/3 cup (80 mL) honey, mild-flavoured such as clover.
5 tablespoons (75 mL) whole milk
2 tablespoons (30 mL) pure vanilla extract

In the bowl of a food processor fitted with a steel blade, combine the flour, brown sugar, baking soda, and salt. Pulse on low to incorporate. 
Add the butter and pulse on and off, until the mixture is the consistency of a coarse meal. 
If making by hand, combine aforementioned dry ingredients with a whisk, then cut in butter until you have a coarse meal with no chunks of butter should be visible.
In a small bowl or liquid measuring cup, whisk together the honey, milk and vanilla. 
Add to the flour mixture until the dough barely comes together. 
It will be very soft and sticky.
Turn the dough onto a well-floured surface and pat the dough into a rectangle about 1 inch thick. 
Wrap in plastic and chill until firm, about 2 hours, or overnight or put in the freezer for 30 minutes - your dough may be ready to handle without any chilling.
Divide the dough in half and roll the dough into a long rectangle, about 1/8 inch thick. 
Cut into 4 by 4 inch squares. 
Gather the scraps together and set aside. 
Place wafers on one or two parchment-lined baking sheets. Chill until firm, if necessary about 30 to 45 minutes
Repeat with the second batch of dough.
Adjust the rack to the upper and lower positions and preheat oven to 350 degrees Fahrenheit (180 degrees Celsius).
Gather the scraps together into a ball, chill until firm, and reroll. 
Prick the wafers with toothpick or fork, not all the way through, in two or more rows.
Bake for 12-14 minutes, until browned and slightly firm to the touch, rotating sheets halfway through to ensure even baking. 
When cooled completely, place enough wafers in food processor to make 1 ¼ cups (300 mL) of crumbs. Another way to do this is to place in a large ziploc bag, force all air out and smash with a rolling pin until wafers are crumbs.

If you wish to make gluten free - use this flour combination and chill dough well:
1 cup (138 g) (4.9 ounces) sweet rice flour (also known as glutinous rice flour)
3/4 cup (100 g) (3.5 ounces) tapioca starch/flour
1/2 cup (65 g) (2.3 ounces) sorghum flour

The January 2010 Daring Bakers’ challenge was hosted by Lauren of Celiac Teen. Lauren chose Gluten-Free Graham Wafers and Nanaimo Bars as the challenge for the month. The sources she based her recipe on are 101 Cookbooks and http://www.nanaimo.ca/.

Canadian Dessert - Nanaimo Bars

Untitled

March 15, 2009

Cheesecake Bars

cheesecake bars

cheesecake bars

sturdy enough for a lunch box

Cheesecake has always been a special dessert in my family because it is the ultimate rich and decadent dessert cake. Growing up, making cheesecake became popular - everyone was making it, and, subsequently cheesecake recipes passed through the family like a wildfire. There is the famous cheesecake my Aunt Julie made and then the excitement over my mother buying a spring form pan. I loved those little mini cheesecakes made with vanilla wafers and cheesecake filling in muffin wrappers that were present at every cousin's wedding and baby shower.  I loved it when my mother made a number of cheesecakes that were delicious and not too sweet as my mother did not like things to be too sugary sweet, of which I take after her.  There was always talk of the cost  because of the number and amount of ingredients, and then there was the famous cheesecake that overflowed the pan and spilled into the bottom of the oven and filled the house with a burnt cheesecake smell. Despite my mom cleaning the oven many times, the smell of burnt cheesecake wafted out of the oven every time we used it for years. 
I still love cheesecake and love to make it in the bar form so my kids can pack it in their school lunches, plus, I will admit, that I like to eat cheesecake out of hand like a cookie. This recipe was easy and delicious with a firm crust. I use Annie's brand bunny grahams for the crust.

Cheesecake Bars

Crust
preheat oven to 325F
1 1/2 cups to 1 3/4 cups or so of graham cracker crumbs
5 tablespoons melted butter
2 tablespoons brown sugar
2 tablespoons flour
dash of salt

Pulverize the graham crackers in a food processor and add the rest of the ingredients until ingredients are incorporated.
Press evenly into pan (I used a removable bottom rectangular tart pan or you can line a 8 or 9 inch square pan with overlapping foil or parchement for easy removal). Play with the size depending on your preference for a thin or thicker cheesecake layer.
Bake at 325F for 12 minutes until fragrant and beginning to brown.

Cheesecake
2 8 ounce packages of softened cream cheese
2/3 cup of sugar
1/4 cup sour cream
2 large eggs
2 teaspoons of lemon juice
1 teaspoon vanilla

Beat cream cheese until smooth. 
Gradually add sugar and beat until incorporated. 
Beat in eggs one at a time until combined.
Mix in sour cream, lemon juice, and vanilla until combined. 
Pour filling over baked crust. Spread evenly. 
Bake for 35 to 40 minutes until edges are set and center jiggles slightly. (adjust your baking times for your pan size).
Top with a chocolate ganache if desired.

Chill well. Cut into squares and serve.


Chocolate Ganache


Melt 1 cup of semisweet chocolate and about a 1/4 cup of heavy cream over a double boiler. Add more or less cream according to how thick or thin you would like the ganache. 

cherry love

Untitled