Showing posts with label vanilla. Show all posts

June 21, 2014

Sugar Cookies


sugar cookies

sugar cookies

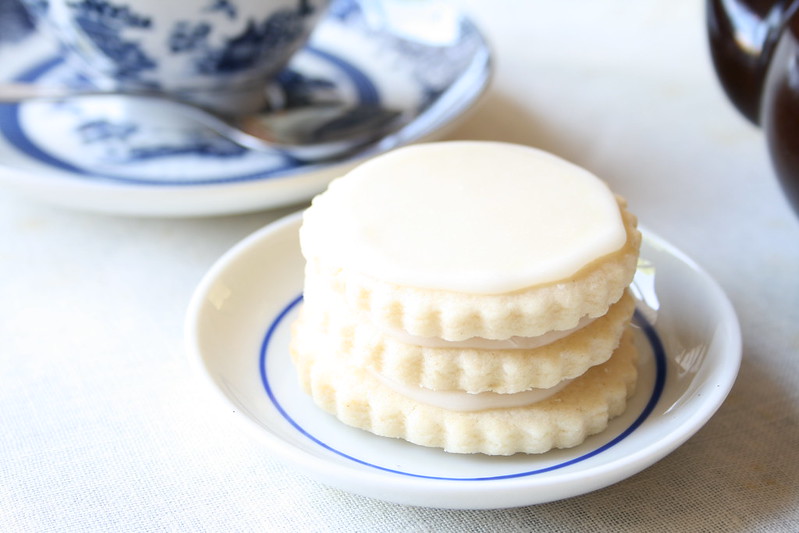
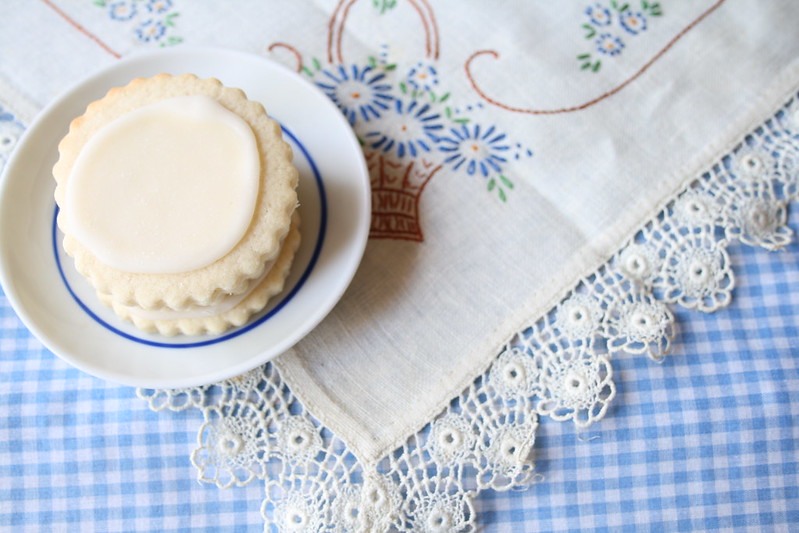
Sugar cookies are beautiful with their delicate flavor, sweet crispness and their ability to take on any shape you can imagine.  I marvel at the holy trinity of flour, butter and sugar and all the wonderful things that can be created with such a simple base.  The sugar cookie is the ultimate example of simplicity.  A few ingredients mixed together to create a cookie that can be delicate and elegant or playful and commonplace.  Whether you dress your sugar cookie up with icing or glaze in fancy designs or simply sprinkle them with sugar, the sugar cookie warms the heart.

I use a lovely glaze that stays flexible while firming up and does not impart the same dry quality of royal icing.  This icing stands up to the dam and flood method of icing the sugar cookies (see below).

Sugar Cookies
Makes about 3 dozen depending on cookie size

1 cup butter, softened
1 cups white sugar
1 egg
1 teaspoon vanilla extract
1 tablespoon milk
3 cups all-purpose flour
3/4 teaspoons baking powder
1/4 teaspoon salt

In medium bowl, whisk together flour, baking powder, and salt. Set aside.
In a large bowl of a stand mixer, cream together butter and sugar until light in color.
Add egg, milk and vanilla and beat to combine.
With mixer on low, gradually add flour mixture and beat until mixture pulls away from bowl.
Divide dough in half, pat into disk and wrap in plastic wrap.
Refrigerate for 1 hour or overnight
Preheat oven to 375 °F
Roll out dough on surface lightly dusted with powdered sugar and roll to 1/4 to 1/2 inch thick.
I roll my dough out on parchment paper.  I sprinkle the powdered sugar on the paper and add more to the top of the dough then I cover the top of the disk with a wide piece of plastic wrap and roll to the desired thickness.  I avoid adding extra ingredients to the dough this way whether it is flour or powdered sugar.
Cut into shapes with any cookie cutter.
Remove excess dough and re roll chilling the dough as needed.
Note:  I re-roll all of my dough regardless of how “tough” the last roll is.  I change the shape of the cookie cutter so I know which cookies are best for dipping into tea.
Place cookies 1 inch apart on ungreased cookie sheets.
Bake for 6 to 9 minutes until the edges are just beginning to brown. 
I always err on the side of under done for a tender cookie.
Let the cookies cool on the pan for 1 to 2 minutes then move to cooling racks.

Sugar Cookie Glaze

5 cups confectioners' sugar
½ cup milk
½ cup light corn syrup
½ teaspoon vanilla and almond extract or flavor as desired

In a mixing bowl, mix the sugar and milk first.
Add corn syrup just until combined.
Divide to flavor.
Add paste color if desired.
Important to always add the same amount of corn syrup as you added milk.
Move a portion of glaze to another bowl and add more powdered sugar until thick enough to pipe a dam of icing around the edge of the sugar cookie.
Fill piping bag set up with a coupler and #4 or 5 round tip.
Let the piped dam set then flood the cookie with the thinner glaze.
Note: I use a spoon unless the work is finer and a piping bag is required.
Decorate as desired with sanding sugar, sprinkles etc. 

Icing may be layered on top as long as the icing sets before a new layer is added.

Adapted from Toba Garrett
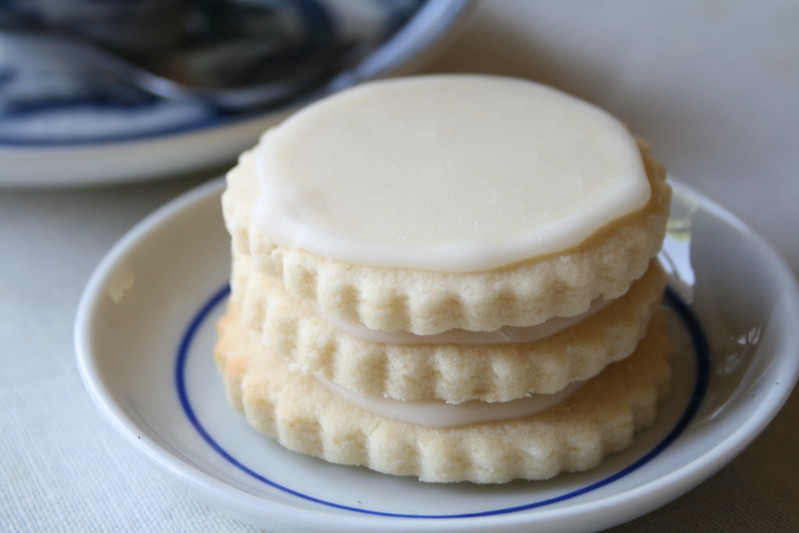
sugar cookies with glaze type icing

yellow rose of texas

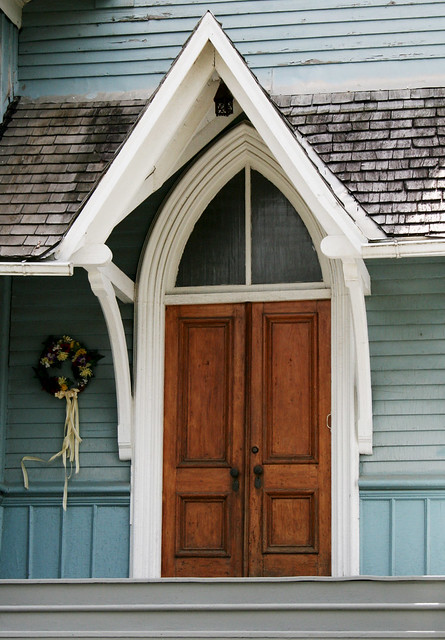
church doors


March 6, 2014

Vanilla Ice Cream - Philadelphia Style

055a

037a

    I love ice cream!  For my family, ice cream was as a regular treat while at the same time it was special.  Everyone looked forward to ice cream.  My dad loved his black walnut and my mom liked her chocolate or coffee, the kids - we loved banana split flavor or Neapolitan.   I grew up with 1/2 gallons of ice cream in the freezer, trips to Thrifty's or when we moved back east, Carvel's soft serve twists on a sugar cone became a staple.  What a better way to cool off in the summer than eating a vanilla or chocolate twist dipped in chocolate or sprinkles.  I always went for the vanilla with colored sprinkles.   Sometimes we headed to Farrell's or Swenson's or Friendly's for something even fancier.  My grandfather took me for ice cream and treated me to a Jim Dandy sundae for no reason except that he asked me to go - I really felt special as there were a lot of cousins and getting time alone was rare and special.  We all  looked forward to  ice cream.  A favorite story from my mom's childhood is how my grandmother would treat my mom and her siblings by taking the waxed cardboard rectangular 1/2 gallon of ice cream container and cutting it four big slices for each, cutting right through the paper.  I don't remember ever making homemade ice cream, maybe once at my aunt's house the same year they made homemade root beer.
     I was initiated into the allure of hand cranked ice cream by my husband's family.  They have special memories of hand cranking a churn and producing the delicious treat.  When they reminisce about it, ice cream making was an event - they remember cranking the churn, whisking raw eggs into the mixture, trying to churn without rock salt (it never froze), and  all the son's taking their turn at the crank.  With my ice cream history, I gladly accepted their enthusiasm for homemade ice cream.  My first ice cream churn was electric and it was a big loud maker that required  a steady flow of ice cubes and rock salt, and had to be churned outside as it was messy  or in the sink.  Then, I received my current churn with an insert that you freeze, pour the ingredients in while the paddle is moving and within 30 minutes a soft ice cream is ready.  I love this maker! 
    This is my standby recipe.  It is easy to make and tastes delicious.  The difference between Philadelphia style and other styles is that eggs are not used versus a custard style vanilla ice cream.  This ice cream is sweet and just rich enough to compliment many pairings.  I pair with cakes, pies, fruit and brownies.  It works well with a rich hot fudge, easy chocolate sauce, or decadent caramel sauce, marshmallow sauce or, my personal favorite, strawberry sauce.

Vanilla Ice Cream Philadelphia Style 
Makes about 1 quart

2 cups (473 ml) of half and half 
1 cup (237 ml) heavy cream
2/3 (128 grams) cup sugar
Dash of salt
1  tablespoon of vanilla

Mix all ingredients together with a hand whisk or use an emulsifier hand blender.
Refrigerate for 30 minutes or longer.  The colder the base is the better.

Mix in your ice cream maker as directed.

ice cream

050

March 1, 2014

Pizzelles

001

007


pizzelle and cappuccino


I was given a pizzelle iron as a gift and I left it in its box for a good while, until I ventured into the land of pizzelles.  I love waffles, cookies, and sugar cones so what could be better than this combination.  I can't stop making these cookies - I love their simplicity, the crisp texture and buttery flavor.  I prefer mine plain but I have made edible ice cream cups with them, filled them with whipped cream and served strawberry sauce on the side and filled them with caramel for a stroopwafel style pizzelle.  

Pizzelles
makes 3-4 dozen small cookies

1-3/4 cups all-purpose flour
2 teaspoons baking powder
3 large eggs
¾  cup granulated sugar
½ cup unsalted butter, melted
1 tablespoon vanilla extract or anise extract or lemon extract

Preheat Pizzelle Press while preparing the batter. 
Place flour and baking powder in a small bowl and stir to combine; reserve. 
Place eggs and sugar in a medium bowl mix with a hand mixer, mix on medium speed for 1 minute, until thickened. 
On low speed, add the melted butter and vanilla in a steady stream and mix until combined, about 15 seconds. 
Add the flour mixture and mix until just combined, about 10 to15 seconds; do not over mix.
Lightly brush both the top and bottom grids with a flavorless vegetable oil  before baking.
Scoop about 1-1/2 – 2 teaspoons of batter and drop onto one of the patterned cookie grids; repeat to make a second cookie. 
Close the lid and cook as instructed by the pizzelle press you own.
Remove pizzelle from the press using a heatproof plastic spatula and place on a rack to cool completely. 
Warm pizzelle may be wrapped around the dowel form cannoli shells. 
Completely cooled pizzelle may be dusted with powdered sugar before serving.

212

214

Variations: Marble Pizzelle: Add 2 ounces finely chopped bittersweet or semisweet chocolate to the batter. Bake as directed.

pizzelles stacked


005

Untitled

July 9, 2012

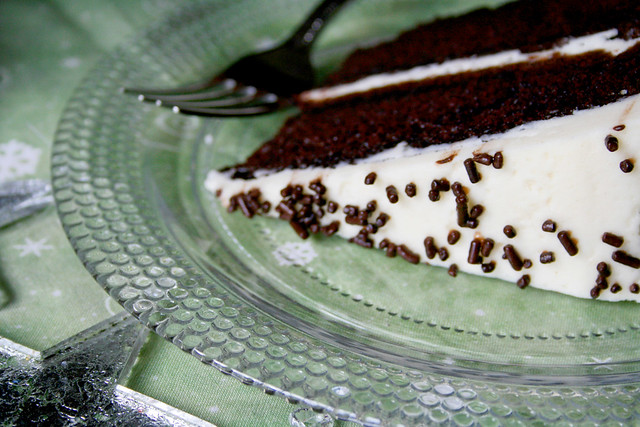
My Mom's Moist Chocolate Cake

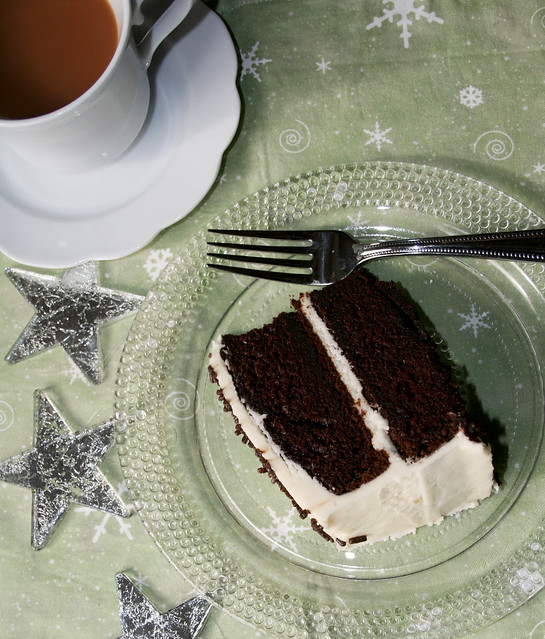
IMG_3563

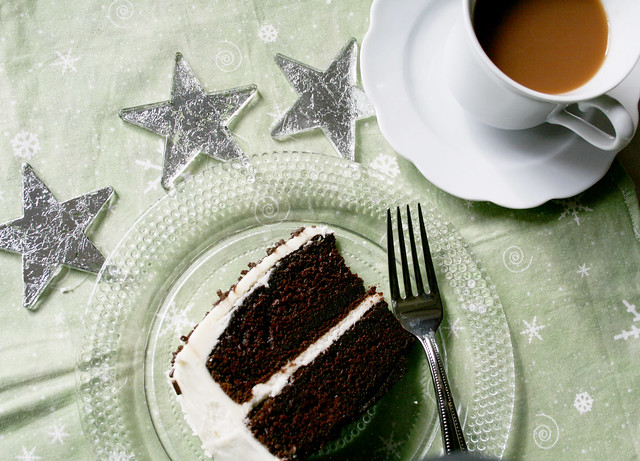
chocolate cake and coffee

    The first time my Mom made this cake for me was after I had my second child.  After the long hours of acting as my labor coach, taking care of my toddler, making meals, jumping up every time the baby cried during the night making sure I was okay or if I needed help, doing the long walks and patting the baby if baby was not to be consoled; my Mom decided she needed to make a delicious cake for me.   She called back home to my father and had him recite the recipe (I can hear her talking to my father even after these many years directing him to the recipe's location and telling him what kind of paper it was written on).  She was so kind and generous with her time and care. Her help speed up my recovery and she surrounded my family with love.    
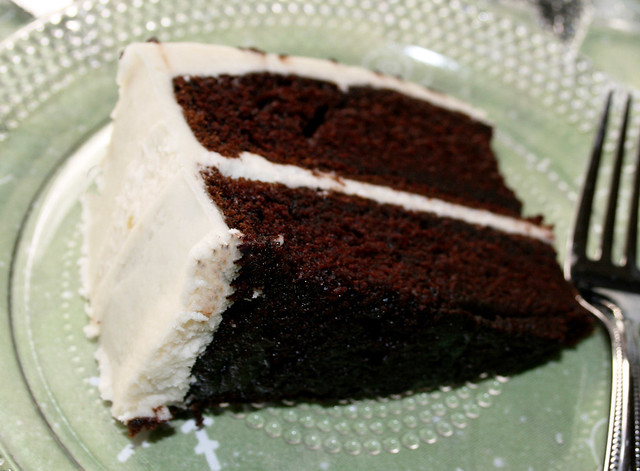
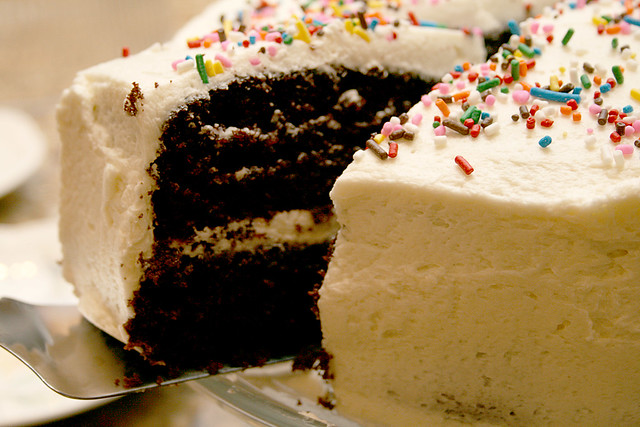
   I make this cake often.  It is used for at least one birthday during the year.  The cake is moist, chocolaty, and you don't need expensive ingredients to have a delicious dessert, though you can use that special cocoa powder if desired. It is a good go-to cake and when anyone gets a craving for chocolate cake with vanilla frosting, this is the cake.  The frosting is different - I have not found a similar recipe that uses a flour and milk base like it.  The consistency is similar to whipped cream but heavier and not too sweet.

My Mom's Moist Chocolate Cake
Makes 2  eight or nine inch round cakes or 13x9 inch baking pan

2 cups all purpose flour
1 teaspoon salt
2 teaspoons baking soda
1 teaspoon of baking powder
3/4 cup unsweetened cocoa
2 cups granulated sugar
1 cup oil (of your choice of a mild or neutral flavored oil)
1 cup hot coffee
1 cup milk
2 eggs
1 teaspoon vanilla extract

Preheat oven to 325 degrees Fahrenheit.
Butter and flour baking pans.
In the bowl of stand mixer whisk together flour, salt, baking soda, baking powder, cocoa and sugar.
Add oil, coffee and milk and mix at medium speed for 2 minutes.
Add eggs and vanilla and beat for 2 more minutes (batter will be thin).
Pour into pans and bake for 25-30 minutes until a cake tester inserted into the center is crumb free.

Cool cakes 15 minutes before removing from pans. 
Cool completely before frosting.  I sometimes speed cool for 15 minutes or so in the freezer.

IMG_3559

milk and flour based vanilla frosting

Favorite Vanilla Frosting

1 cup milk
5 tablespoons all purpose flour
1 cup softened butter (or use ½ cup of butter and ½ cup shortening)
1 cup sugar
1 teaspoon vanilla

Combine milk and flour in a medium saucepan and cook until thick, whisking out lumps.
Cover and refrigerator for 2 hours or until cold.
In large mixing bowl, beat butter, sugar and vanilla until creamy.
Add chilled milk and flour mixture and beat for 10 minutes.
Frost the cake.


Frosting will cover a two layer cake and generously cover a sheet cake style cake.

the family's request   365:7