I am always searching for a delicious dairy free cookie. Unfortunately, there is no equal to the palate pleasing purity of cow's milk butter. Yes, there are substitutes that do fairly well like magarine, but they have a dairy ingredient, plus loads of other ingredients too. Once life delivered me a dairy free mandate, I have been searching out tolerable alternatives to my beloved butter. I use Earth Balance Soy Free Sticks for the best results for most of my baking – the Soy Free sticks leave the least amount of fishy aftertaste unlike the yellow Earth Balance box which contains flax and has notes of fish which is not what I desire for in a baked treat. Coconut based butters can overpower baked goods with a coconut aftertaste from stong to mild. I find most dairy free butter substitutes too salty and they can leave a greasy texture on the palate.
This cookie delivers a delicious creaminess that is not butter but a mysterious whole mouth feel of the cocoa butter. Raw cocoa butter is available at Whole Foods, specialty grocery stores or Amazon. It costs about $10 for 8 ounces. I use the Navitas brand. Cacao nibs by Natierra. If you want to keep your guests guessing the secret ingredient make this cookie.
4 ounces; 115g; raw cocoa butter such
8 3/4 ounces; 250g; 1¼ cup sugar
1 3/4 teaspoons ; 7g kosher salt
1 teaspoon baking powder
¼ teaspoon baking soda
1/8 teaspoon freshly grated nutmeg
4 ounces unsalted butter; 115g; 8 tablespoons softened but cool, about 60°F
1 large cold egg
1 large cold egg
½ ounce, 15g, 1 tablespoon vanilla extract
10 ½ ounces; 300g; 2 1/3 all-purpose
6 ½ ounces; 185g; ¾ cup chocolate chips of your choice
1 ounce; 30g;¼ cup cocoa nibs
Preheat oven to 350°F.
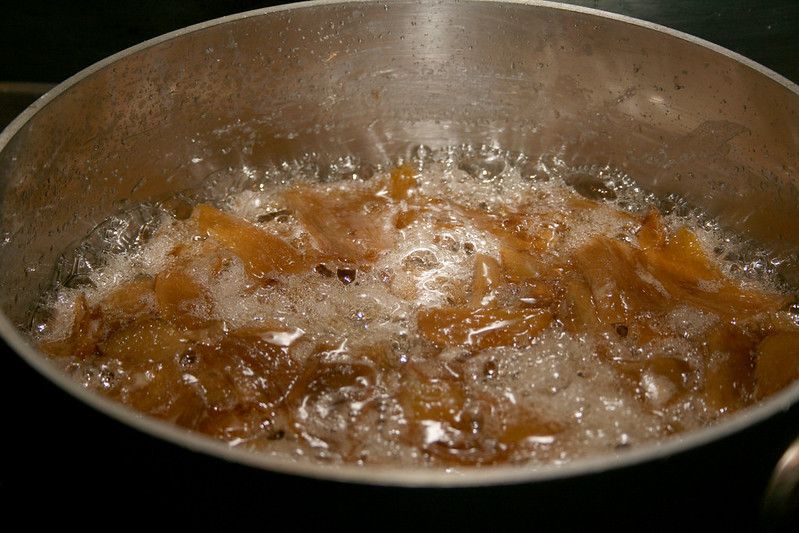
In a heavy bottomed sauce pan, melt cocoa butter over medium-low heat, stirring frequently with a flexible.
When cocoa butter is fully melted, pour into the bowl of a stand mixer and cool to approximately 90°F.
Add sugar, salt, baking powder, baking soda, nutmeg, and butter to cooled cocoa butter.
Using the paddle attachment cream mixture until it is fluffy and light, about 3 minutes.
With mixer still running, add egg, vanilla, and continue beating until well combined.
Scrape bowl and beater with flexible spatula
With mixer on low, add flour until just combined.
Fold in chocolate chips and cocoa nibs with flexible rubber spatula by hand.
Scoop dough onto parchment or Silpat lined cookie sheets using a 1 ½ tablespoon cookie scoop or your size preference.
Place cookies about 2 inches apart.
Bake until puffed and firm around the edges, about 15 minutes.
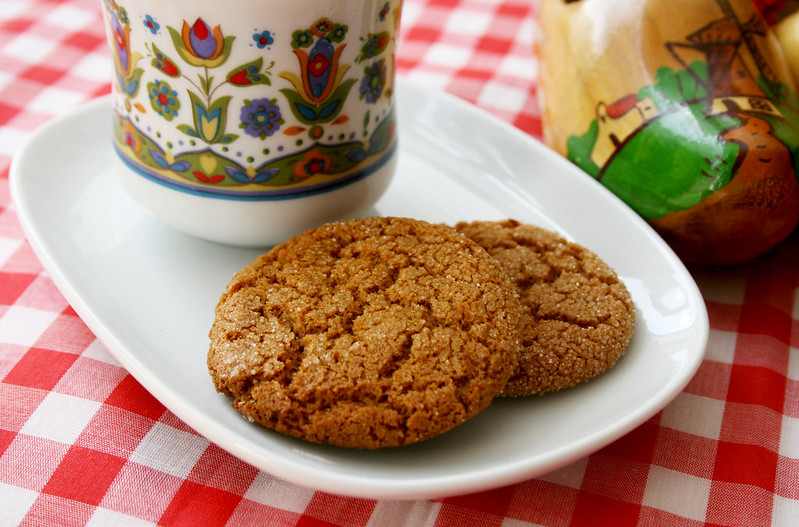
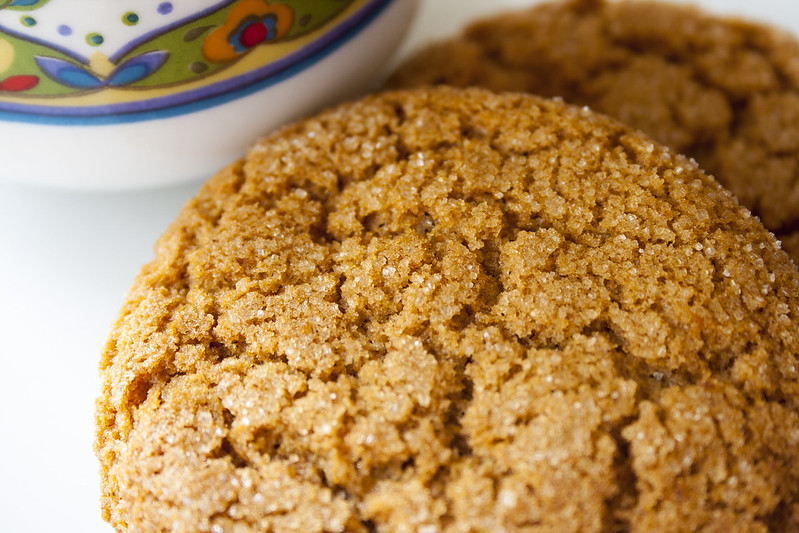
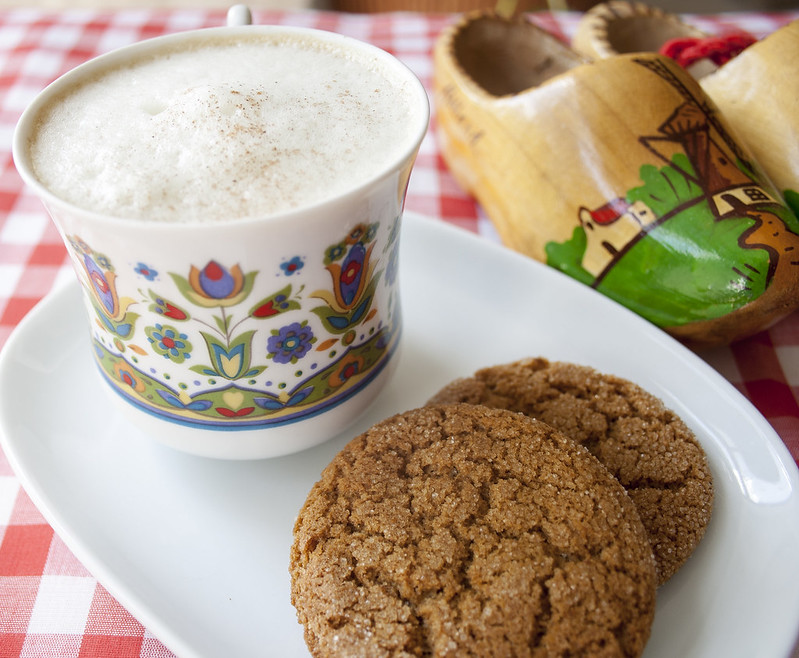
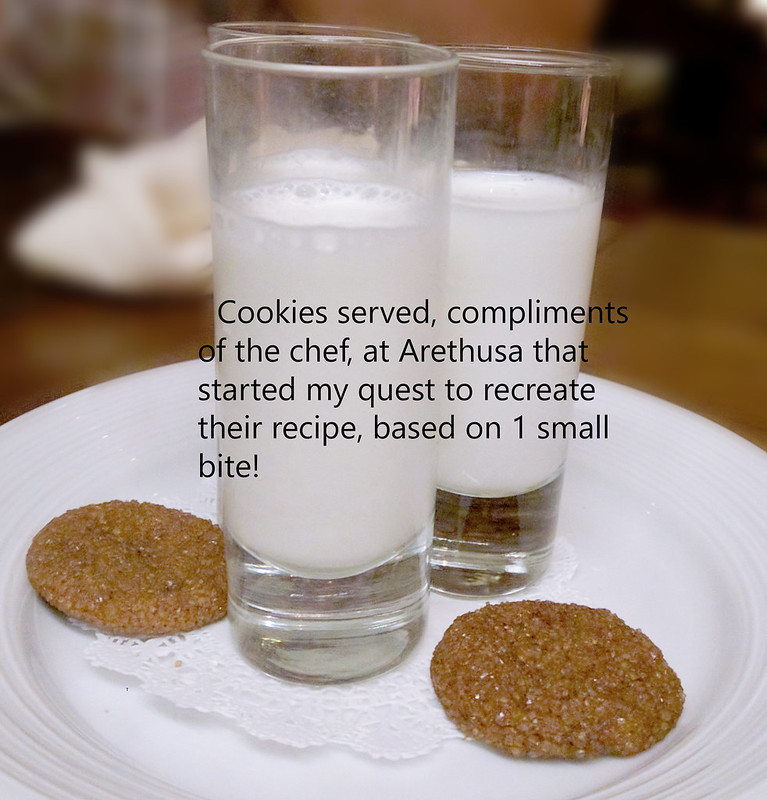
Due to their low lactose content, these cookies are pale in color.
Cool on the baking sheet about 5 minutes.
Store in an airtight container up to 4 days at room temperature.